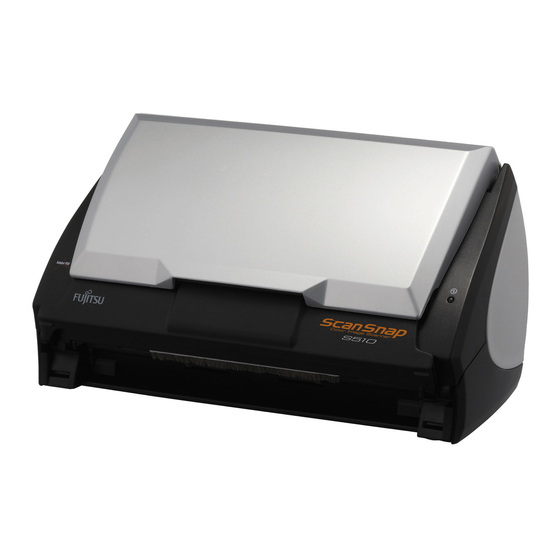
- ページ 2
スキャナー Fujitsu S510 - ScanSnap - Document ScannerのPDF クイック・インストール・マニュアルをオンラインで閲覧またはダウンロードできます。Fujitsu S510 - ScanSnap - Document Scanner 2 ページ。 Color image scanner
Fujitsu S510 - ScanSnap - Document Scanner にも: インストール手順 (3 ページ), 仕様 (2 ページ), パンフレット&スペック (2 ページ), スタートマニュアル (30 ページ), スタートマニュアル (28 ページ), 洗浄方法 (2 ページ)

2. Software Installation
Please log on as the System Administrator
before installing software.
Installing Adobe Acrobat
1.
Insert the "Adobe Acrobat CD" into the CD drive.
The "Adobe Acrobat" window appears.
2.
Click on the folder Icon.
3.
Follow the instructions to install the software.
Installing ABBYY FineReader
1.
Insert the "ABBYY FineReader CD-ROM"
2.
The "ABBYY FineReader for ScanSnap™" screen appears.
3.
Click [Install>] to proceed with installation. The file folder
containing the setup.exe file appears.
4.
Double-click the [Setup.exe] icon to Install application
5.
Follow the instructions to install the software.
Installing ScanSnap Manager, Organizer,
CardMinder & PDF Thumbnail View
1.
Insert the "ScanSnap Setup CD-ROM" into the
CD-ROM drive.
2.
The "ScanSnap Setup" window appears.
3.
Click the [Install Products] button.
4.
Click the [Typical] button (Recommended).
5.
After the installation is completed, please restart your
computer.
Refer to the "ScanSnap Operator's Guide" to learn more about
ScanSnap Manager or the installation of CardMinder.
Installing Rack2-Filer
(Trial Version)
1.
Insert the "Rack2-Filer Setup CD-ROM" into the
CD-ROM drive.
2.
Continue installation by following the screen prompts.
Refer to the "Rack2-Filer User's Guide" to learn more about
Rack2-Filer or Rack2-Viewer (This product is a 30 day trial
version. To purchase a licensed version of this product go to
www.buyfcpa.com)
3. Connecting the Scanner
Connecting the AC cable
After the computer has been restarted, please connect the
scanner.
1.
Connect the AC cable to the AC adapter.
2.
Insert the connectors of the AC adapter into the scanner
power inlet and a power outlet.
Connecting the USB cable
3.
Remove the seal covering the scanner USB connector.
4.
Connect the scanner and your computer with the supplied
USB cable.
5.
Open the Paper chute cover of scanner.
6.
The ScanSnap is automatically detected by your computer.
