- ページ 8

冷蔵庫 AEG ARCTISのPDF 取扱説明書をオンラインで閲覧またはダウンロードできます。AEG ARCTIS 28 ページ。 Built-in fridge-freezers
AEG ARCTIS にも: 取扱説明書 (32 ページ), 取扱説明書 (28 ページ), 取扱説明書 (40 ページ), 操作説明 (16 ページ), 取扱説明書 (36 ページ), 取扱説明書 (36 ページ), 取扱説明書 (26 ページ), 取扱説明書および設置マニュアル (28 ページ), 取扱説明書 (36 ページ), 取扱説明書 (27 ページ), 取扱説明書 (34 ページ), ユーザーマニュアル (24 ページ), 取付説明書 (11 ページ), 取扱説明書 (29 ページ), 取扱説明書 (23 ページ), 取付説明書 (25 ページ), 取付説明書 (24 ページ)
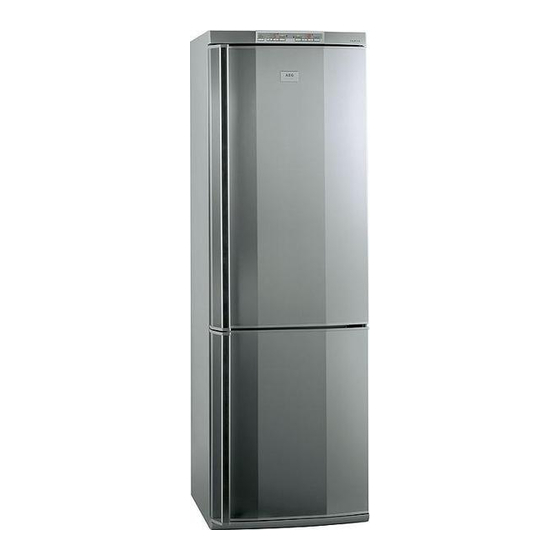
AEG ARCTIS 取扱説明書

Electrical Connection

The plug socket necessary for connection of your appliance to the
electricity supply should be positioned so that it is possible to pull out
the appliance plug.
A concealed protective contact plug socket requires 10 A/16 A fusing.
If the socket is not accessible, the electrical installation must include
suitable means of isolating the appliance from the mains (e.g. fuse,
cut-out, current trip or similar with a minimum contact separation of
3 mm).
Before initial start-up, refer to the appliance serial plate to ascertain if
supply voltage and current values correspond with those of the mains
at the installation location.
e.g.: AC 220 ... 240 V
(i.e. 220 to 240 volts alternating current, 50 Hertz)
The rating plate is inside the appliance on the left.

Reversing the door

The side at which the door opens can be changed from the right side
(as supplied) to the left side, if the installation site requires.
Warning! When changing the side at which the door opens, the appli-
ance must not be connected to the mains. Remove plug from the
mains beforehand.
Tilt the appliance slightly towards the
rear and prop it securely.
Unscrew the door hinge screws (K)
and remove the hinge pin bracket (1).
Open the door a little way and take it
out downwards.
56
220 ... 240 V
50 Hz or
~50 Hz
AEG97
1
K