- ページ 7

ソフトウェア Brother MFC-J4610DWのPDF クイック・スタート・マニュアルをオンラインで閲覧またはダウンロードできます。Brother MFC-J4610DW 29 ページ。 Quick setup guide - spanish
Brother MFC-J4610DW にも: クイック・セットアップ・マニュアル (47 ページ), マニュアル (36 ページ), マニュアル (22 ページ), 製品安全マニュアル (17 ページ), マニュアル (13 ページ), マニュアル (13 ページ), クイック・セットアップ・マニュアル (45 ページ), 製品安全マニュアル (20 ページ), 製品安全マニュアル (25 ページ), スタート・ヒア・マニュアル (47 ページ), (スペイン語)ウェブ・コネクト・マニュアル (38 ページ), (スペイン語)マニュアル (24 ページ), (製品安全ガイドマニュアル (16 ページ), (スペイン語)マニュアル (12 ページ), (スペイン語)マニュアル (11 ページ), (クイック設定ガイド (47 ページ)
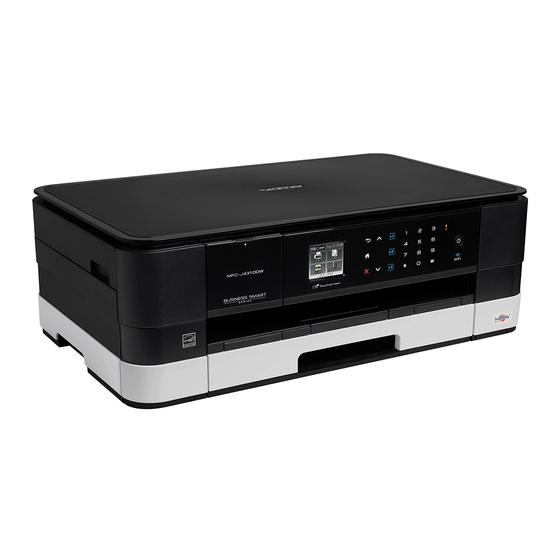
Brother MFC-J4610DW クイック・スタート・マニュアル
9

Set the date and time

a
Press Settings.
b
Press s or t to display Initial Setup.
Press Initial Setup.
c
Press Date & Time.
d
Press Date & Time.
Enter the last two digits of the year on the
Touchscreen, and then press OK.
To move the cursor to the left, press
re-enter the number.
e
Repeat for month/day/time in 24-hour format.
f
Press
.
10
Enter personal
information (Station ID)
You should store your name and fax number to be
printed on all fax pages that you send.
a
Press Settings.
b
Press s or t to display Initial Setup.
Press Initial Setup.
c
Press s or t to display Station ID.
Press Station ID.
d
Enter your fax number (up to 20 digits) on the
Touchscreen, and then press OK.
e
Enter your name (up to 20 characters) using
the Touchscreen, and then press OK.
f
Press
.
NOTE
If you make a mistake and want to start again,
and go back to a.
press
11
a
Press Settings.
b
Press s or t to display Initial Setup.
Press Initial Setup.
c
Press s or t to display Tone/Pulse.
Press Tone/Pulse.
d
Press Pulse (or Tone).
e
Press
and
12
a
Press Settings.
b
Press s or t to display Initial Setup.
Press Initial Setup.
c
Press s or t to display Phone Line Set.
Press Phone Line Set.
d
Press s or t to display Normal, PBX or ISDN.
Press the desired telephone line type.
NOTE
If you choose PBX the machine will then ask you
to set the Dial Prefix. uuBasic User's Guide:
Setting the Telephone Line Type
e
Press
Set Tone or Pulse dialling
mode
.
Set the telephone line
type
.
7