- ページ 19
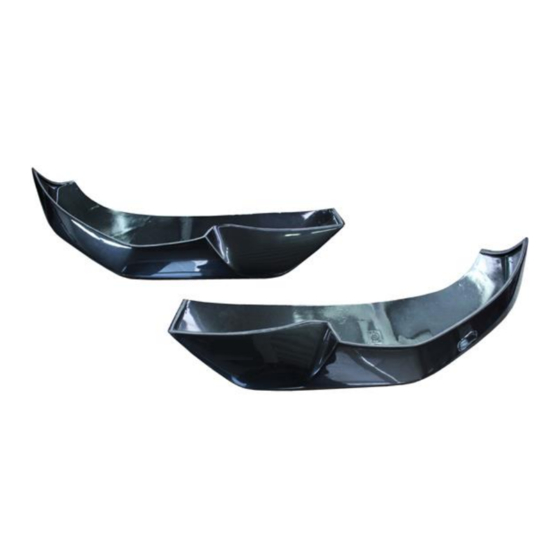
自動車アクセサリー AC Schnitzer G02 M-TechnikのPDF 取付説明書をオンラインで閲覧またはダウンロードできます。AC Schnitzer G02 M-Technik 20 ページ。 Front spoiler elements

Pa in t in g In s t r u c t io n s
Notes on Painting AC Schnitzer Components
Before painting, all AC Schnitzer bodystyling components must be checked for fit on the vehicle (e.g. contact surfac-
es/contours).
Any retouching work (e.g. sanding of contact surfaces/contours) must be carried out before painting !
The quality and durability of the paint on a component depends on the preparation and external influences, and cannot
therefore be compared with that on any other body element.
To avoid distortion/deformation during working and drying, AC Schnitzer components should be placed on a corresponding
jig.
Note !
The painting instructions of the paint manufacturer must be followed !
Painting Steps:
1. Cleaning:
2. Tempering:
3. Inspection:
4. Sanding:
5. Masking off:
6. Cleaning:
7. Filling:
8. Drying:
9. Removal:
10. Sanding:
11. Cleaning:
12. Masking off:
13. Painting:
14. Drying:
AC Schnitzer - automobile Technik - Neuenhofstraße 160 - 52078 Aachen - Tel. 0241/5688 -130
Plastic cleaner / Silicone remover
30 min. at max. 40° C object temperature
Edges and seams on surface (pores etc.), sand down if necessary
2K stopper P220 – P280 (dry), complete component P400 – P600 (dry)
Contact surfaces, TÜV marking, rating plates
Silicone remover
2K HS filler
1 hour at max. 40° C object temperature, component should remain in drying
cabinet overnight
Masking tape on rating plates, contact surfaces and TÜV marking
P800 (dry)
Silicone remover
Contact surfaces
Observe technical data and painting instructions from paint manufacturer
1 hour at max. 40° C object temperature, component should remain in drying
cabinet overnight
Painting Instructions Issue: 01/2010
19
Fax -135
