- ページ 10
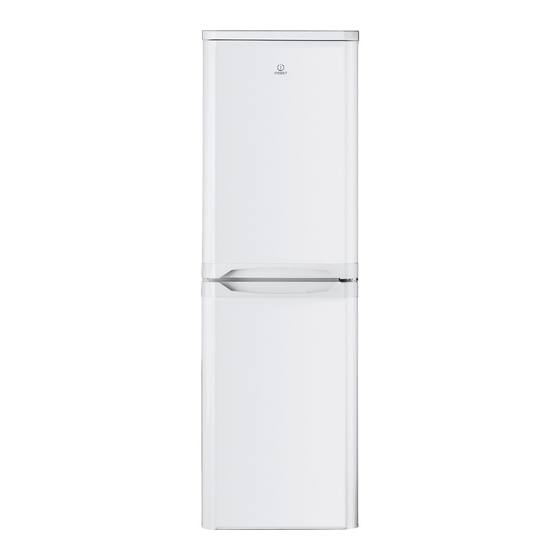
冷蔵庫 Indesit CA55SUKのPDF サービス情報をオンラインで閲覧またはダウンロードできます。Indesit CA55SUK 13 ページ。 Freestanding fridge freezer

- 1. Health and Safety
- 2. Table of Contents
- 3. Index & Serial Number / Industrial Code Format
- 4. Ca55Uk
- 5. Introduction
- 6. Ca55Kuk
- 7. Specifications
- 8. Detailed View
- 9. Component Details
- 10. Servicing & Dismantling Instructions
- 11. Door Reversal Instructions
- 12. Door Seal Replacement
- 13. Theoretical Wiring Diagram
Indesit
Company
SERVICING & DISMANTLING INSTRUCTIONS
Important Notes for Guidance:
Before commencing any work refer to the Safety Notes and Safety Precaution at the beginning of this
manual.
Caution:
When carrying out the following procedures care must be taken to protect the appliance and
customers property, especially if the appliance is moved or laid down. Where it is necessary to
lay the appliance down, it must be cleared of food and furniture. It must not be tilted or
supported against a wall or similar structure.
The Grip Mat, Part Number C00222890 (5700072), must always be used as directed when laying
an appliance on its back to reduce appliance movement.
A.
Freezer Door
1.
Lay down the appliance on its back.
2.
Unscrew, remove and retain the bottom hinge.
3.
Slightly open the freezer door and slide downwards to remove.
B.
Fridge Door
1.
Remove the freezer door as in A1 to A3.
2.
Remove centre hinge and spacer if fitted. Slightly open the fridge door and slide downwards to remove.
C.
Lamp
1.
Squeeze to unclip the lamp cover located at the rear of the controls box
(see Fig. 3).
2.
Unscrew and remove lamp; the replacement lamp must be of the same rating
as the power range indicated on the cover.
D.
Thermostat Control Box
1.
Remove the blanking cap (where applicable) and the fixing screw (located in
front of the thermostat control knob).
2.
Slide the control box forward to disengage from locating post.
3.
Disconnect the lamp wiring.
4.
Disconnect the thermostat wiring.
E.
Thermostat
1.
Remove the thermostat control box as in D1, D2 and D4.
2.
Release the thermostat fixing nut and remove the thermostat from the control box.
3.
Withdraw the thermostat phial from the phial ducting.
F.
Console Facia Panel
1.
Remove the freezer door as in A1 and A3.
2.
Remove the fridge door as in B1 and B2.
3.
Remove the two screws securing the console panel to the cabinet. Do not remove the upper hinge pin.
4.
Pull the console panel forward and remove.
G. Door Reversal - Refer to Page 11
H.
Door Seal Replacement - Refer to Page 12
Service Manual UK
10 of 13
Fig. 3
English
