- ページ 7
ホブ Indesit CRO 642 TO X RU/HAのPDF 取扱説明書をオンラインで閲覧またはダウンロードできます。Indesit CRO 642 TO X RU/HA 28 ページ。

Start-up and use
!
The glue applied on the gaskets leaves traces of
grease on the glass. Before using the appliance, we
recommend you remove these with a special non-
abrasive cleaning product. During the first few hours
of use there may be a smell of rubber which will
disappear very quickly.
!
A few seconds after the hob is connected to the
electricity supply, a buzzer will sound. The hob may
now be switched on.
- - - - -
+ + + + +
If the
or
button is pressed for an extended
!
period of time, the display scrolls quickly though the
power levels and timer minutes.
Switching on the hob
To switch the hob on, press and hold the
for approximately one second.
Switching on the cooking zones
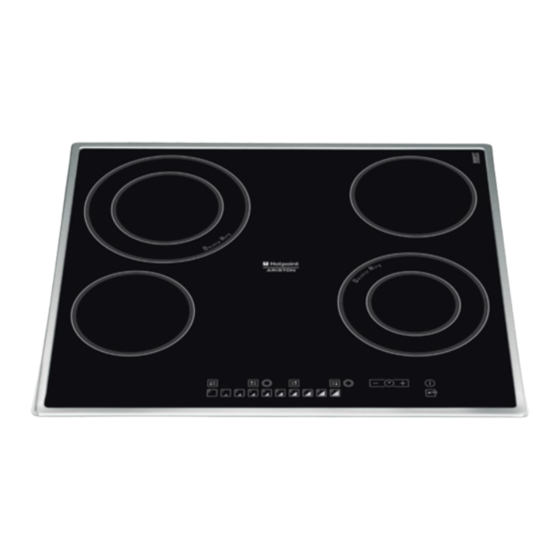
Each cooking zone is controlled using a selector
button
and a power adjustment device
consisting of power level selector buttons between
the values of 0 and 9.
• To begin operating a cooking zone, press the
corresponding control button and set the desired
power level using the power level selector buttons
between 0 and 9.
Switching off the cooking zones
To switch off a cooking zone, select it using the
corresponding selector button
• Press power level selector button 0: this
immediately returns the power setting to 0 and the
cooking zone switches off.
Power function
The power function for the cooking zones may be
used to shorten heating-up times. Activate and set
the power level for the desired cooking zone
described in the previous paragraph. Press and hold
the selector button corresponding to the desired
cooking zone
for at least 2 seconds. The
display, the power level indicator, will alternately
show the letter "P P P P P " and the power level set
previously until the desired power level has been
reached. Once this level has been reached, the
display will revert to showing the set power level. To
deactivate this function, press and hold – for at least
2 seconds - the selector button corresponding to the
cooking zone on which the
activated; alternatively, select a different power level
between 0 and 9 using the power level selector
buttons.
Heating elements
Two types of heating element may be installed,
depending on the appliance model: halogen and
radiant elements.
Halogen elements emit heat via radiation from the
halogen lamps they contain.
They have similar properties to gas burners: they are
easy to control and reach set temperatures quickly,
button
allowing you to see the power level instantly.
Radiant elements consist of a series of coils which
allow heat to be distributed evenly at the base of the
cookware, so that all slow-flame cooking may be
performed successfully, for example stews, sauces
or reheated dishes.
Programming the cooking duration
! All the cooking zones may be programmed
simultaneously, for a duration between 1 and 99
minutes.
1. Select the cooking zone using the corresponding
selector button.
2. Adjust the power level.
3. Press the
light corresponding to the selected zone will start
and:
flashing.
4. Set the cooking duration using the
buttons.
5. Confirm by pressing the
selection occurs after 10 seconds.
The timer begins counting down immediately. A
buzzer sounds for approximately 1 minute and the
cooking zone switches off when the set programme
as
has finished.
Repeat the above procedure for each hotplate you
wish to programme.
Using multiple programmes and the display
If one or more hotplates are programmed, the
display will show the data for the hotplate with the
function has been
programming button. The indicator
- - - - -
and
button or automatic
GB
+ + + + +
7
