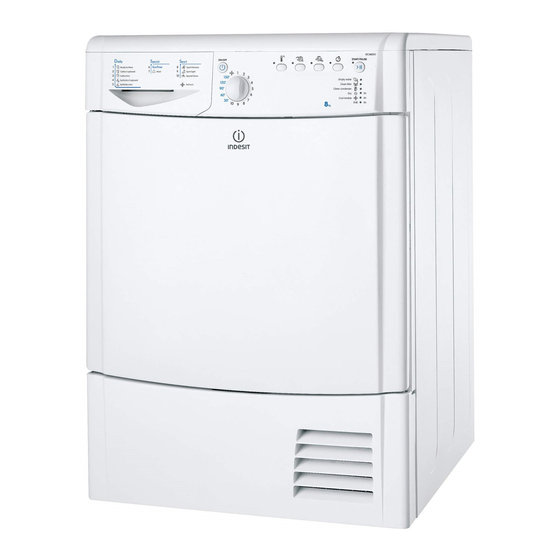
- ページ 4
ドライヤー Indesit IDCA 735 SのPDF 取扱説明書をオンラインで閲覧またはダウンロードできます。Indesit IDCA 735 S 20 ページ。 Tumble dryer
Indesit IDCA 735 S にも: 取扱説明書 (21 ページ), 取扱説明書 (32 ページ), 取扱説明書 (16 ページ)

Installation
Where to install the tumble dryer
EN
• Install the dryer far from gas
ranges, stoves, radiators or
hobs, as flames may damage it.
If the dryer is installed below a
worktop, ensure there are 10
mm between the upper panel of
the dryer and any objects abo-
ve it, and 15 mm between the
sides of the machine and the
walls or furniture units adjacent
to it. This ensures adequate air
circulation.
Ventilation
• The room must be adequately ventilated while the dryer is
running. Make sure that the dryer is installed in a room free
of humidity and with adequate air circulation. The flow of air
around the dryer is essential to allow water to condense du-
ring drying; the dryer will not function properly if it is placed
in an enclosed space or inside a cabinet.
!
Some condensation may form if the dryer is used in a small
or cool room.
!
We do not recommend that the dryer is installed in a
cupboard but the dryer must never be installed behind a
lockable door, a sliding door or a door with a hinge on the
opposite side to that of the dryer door.
Water drain
If your dryer is installed next to a drain the water can be
plumbed into this drain. This does away with the need to
empty the water container. If the dryer is stacked onto or
installed next to a washing machine it can share the same
drain. The height of the drain must be less than 3' (1 m) from
the bottom of the dryer.
Remove existing hose from position shown in picture A and
fit a suitable length of hose and connect as shown in picture
B.
!
Make sure that the hose is not squashed or kinked
when the dryer is in its final location.
Picture A
4
15 mm
15 mm
15 mm
15 mm
Picture B
Electrical connections
Before plugging the appliance into the socket, check the following:
• Make sure your hands are dry.
• The socket must have an earth connection.
• The socket must be able to withstand the machine's ma-
ximum power output as indicated on the rating plate (see
Description of the tumble dryer).
• The power supply voltage must fall within the values indicated
on the rating plate (see Description of the tumble dryer).
• The socket must be compatible with the dryer's plug.
Should this not be the case, replace the plug or the socket.
!
Do not use extension cords.
!
The dryer must not be installed outdoors, even if the space is
sheltered. It can be very dangerous if exposed to rain or storms.
!
Once installed, the dryer's electrical wire and plug must be
within reach.
!
The power cord must not be bent or squashed.
!
The power cord is supplied fitted with a BS1363 plug and with
a 13 amp BS1362 fuse. If it is necessary to fit a replacement
fuse, it must be a 13 Amp ASTA approved to BS1362 type.
WARNING: The plug must not be used without a fuse cover. If a
replacement fuse holder/cover is required, it must be of the same
colour coding or wording as shown on the base of the plug.
Replacements are available from authorised dealers.
Moulded plug
Changing the plug
The wires in the power cord are coloured in accordance with
the following.
Green and Yellow (Earth)
wire to terminal marked "E",
symbol x, or coloured green
GREEN &
and yellow.
YELLOW
BROWN
Blue (Neutral) wire to
BLUE
terminal marked "N" or
coloured black.
!
If the plug being replaced is a non-rewirable type, then the
cut-off plug must be disposed of safely. DO NOT leave it where
it can be inserted into a socket and create a shock hazard.
!
The power cord should be checked periodically and replaced
by a cord specially prepared for this dryer and fitted only by
authorized technicians (see Service). New or longer power
cords are supplied at an extra charge by authorized dealers.
!
The manufacturer denies any responsibility should any of
these rules not be followed.
!
If in doubt about any of the above consult a qualified
electrician.
Preliminary information
Once the tumble dryer is installed, clean the inside of the
drum before operating it and remove any dirt accumulated
during transportation.
13A ASTA approved fuse
to BS 1362.
13 ampere fuse
Brown (live) wire to
teminal marked "L" or
CROSS-BAR
coloured red.
CORD GRIP
