- ページ 6
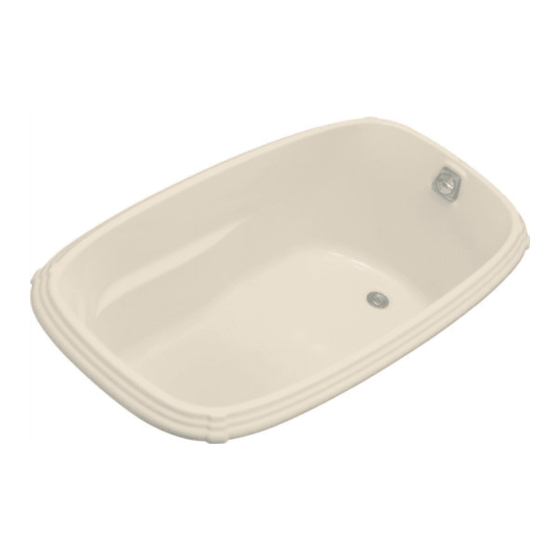
バスタブ Kohler K-1013のPDF インストレーション&ケア・マニュアルをオンラインで閲覧またはダウンロードできます。Kohler K-1013 25 ページ。 Acrylic bath
Kohler K-1013 にも: インストレーション&ケア・マニュアル (29 ページ), マニュアル (4 ページ), インストレーション・マニュアル (17 ページ), ラフイン・マニュアル (4 ページ)

1.
Prepare the Site
Provide a 1/16" (2 mm) gap between the bath rim
and the framing.
Fournir un espace de 1/16" (2 mm) entre le rebord
de la baignoire et le cadrage.
Provea una separación de 1/16" (2 mm) entre el
borde de la bañera y la estructura de postes de
madera.
Flooring
NOTICE: Adequate floor support must be provided. Consult the roughing-in
information packed with the bath for specific floor loading requirements.
Install adequate floor support.
NOTICE: To ensure a successful installation, it is critical that bath be installed on a
level subfloor.
Verify the subfloor is level. Adjust for level, if necessary.
Framing
CAUTION: Risk of property damage. Do not support the bath by the rim. The
bath must be supported by the leveling blocks only or bath base, depending upon
your bath model.
NOTICE: To ensure the bath does not rest on the rim, a 1/16" (2 mm) gap must exist
between the framing and the underside of the rim. When constructing the framing,
take into account the gap and the thickness of the finished wall/deck material.
NOTICE: The bath is for drop-in or raised deck installations only. If a deck-mount
faucet will be installed, plan a space on the deck to accommodate the deck-mount
faucet.
Construct the framing according to the roughing-in information packed with the
bath. Ensure a 1/16" (2 mm) gap will exist between the framing and the underside
of the rim.
Plumbing
NOTE: For through-the-floor drain installations: A drain hole will need to be cut to
accommodate the drain connections. For above-the-floor drain installations: A hole
will not need to be cut.
Position the plumbing according to the roughing-in sheet packed with the bath.
Cap the supplies and check for leaks.
1084212-2-B
6
Kohler Co.
