- ページ 14

コントローラー DeZurik G-SERIESのPDF インストラクションをオンラインで閲覧またはダウンロードできます。DeZurik G-SERIES 19 ページ。 Lift, turn and reseat used on ptw & pfw tapered plug valves
DeZurik G-SERIES にも: インストラクション (7 ページ), マニュアル (8 ページ), マニュアル (17 ページ), マニュアル (14 ページ), マニュアル (12 ページ), マニュアル (14 ページ), マニュアル (16 ページ), マニュアル (17 ページ), 取扱説明書 (13 ページ), マニュアル (9 ページ)
DeZurik G-SERIES インストラクション
DeZURIK
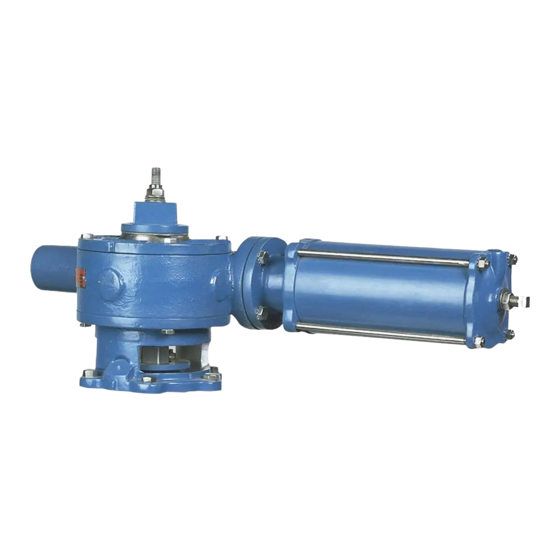
Cylinder Operated G-Series Actuator
Disassembling Actuator
13. Remove the rack bearing (if noticeable wear to bearing) by driving the pin out of the rack
bearing and actuator housing.
14. Scribe corresponding lines on the valve and adapter to be used for alignment during actuator
reassembly.
This valve is a pressure vessel. On 4, 5, 6 and 10" (100, 125, 150 and 250mm) valves, the same
bolts hold both the actuator and the bonnet.
Removing the bolts on 4, 5, 6 and 10" (100, 125, 150 and 250mm) valves before relieving
pipeline pressure can result in personal injury or equipment damage.
Always relieve pipeline pressure before removing the actuator.
15. Remove the screws fastening the adapter to the valve; ensure the pipeline pressure is relieved
before removing these screws on 4, 5, 6 and 10" (100, 125, 150 and 250mm) valves.
16. Lift the rest of the actuator and the adapter off the valve.
17. Remove the screws fastening the adapter to the actuator housing, and separate the two parts.

Reassembling Actuator

Install new bearings and seals in the adapter and cover if necessary. See Figure 7 for proper
placement.
D10022
(Continued)
Figure 7 – Location of Actuator Seals and Bearings
Page 14
August 2012