- ページ 6
キッチン&ランプ; バス備品 Billi SaharaのPDF インストレーション・マニュアルをオンラインで閲覧またはダウンロードできます。Billi Sahara 8 ページ。
Billi Sahara にも: インストールマニュアル (7 ページ), ユーザーマニュアル (12 ページ)
Installing Sahara Plus
mixer tap.
Additional Components for Billi Sahara Plus
320, Plus 360 and Plus 3120 Models
Before commencing installation, identify
the following components:
1. O-ring (large)
2. Tap base ring
3. Mount clamp plate
4. Mount clamp plate gasket
5. Mount stud
6. Extended fixing nut
7. Barb adaptor fitting (short)
8. Barb adaptor fitting (extended)
9. Spring hose clamps x 2
10. ½" joining nipple
11. 1 metre PVC tubing
12. Braided flexible couplings x 3
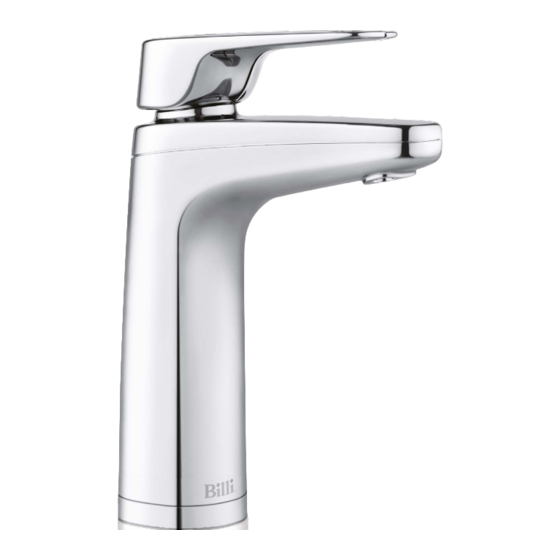
13. Mixer Tap
Mixer Tap Mounting Procedure
1. Drill or punch mount hole and deburr.
– Hole size: 35 – 38mm.
– Sink or Benchtop thickness: 1-48mm.
2. Feed braided flexible couplings marked
'Water In' and 'Water Out' through mount
hole leaving M10 threaded connection ends
protruding upwards through hole. Fit O-ring
(large) and tap base ring over tubes and sit
them in place.
3. Fit barb adaptor fitting (extended) and
mount stud to mixer tap body.
4. Push PVC tubing onto barb and fit spring
hose clamp. Position hose clamp lugs as
shown in Diagram 19.
5. Feed PVC tube down through mount hole
alongside braided tubes.
6. Fit M10 threaded tubes into tap body.
Match tube labels with tap base markings.
7. Feed tubing through the mount hole and
place tap in correct position. Mount stud
faces to front of mixer tap. Move lever from
left to right to find lever centre position.
8. Fit mount clamp gasket and plate to
mounting stud. Note orientation of
gasket and plate – see Diagram 20.
9. Ensure tap is positioned evenly over
the mount hole and that lever position
is correct. Fit and tighten extended nut
using a 12mm tube spanner or large
flat blade screwdriver.
Connecting Mixer Tap to Sahara Plus
Fit tubing connections as shown in Diagram 21
and 22.
1. Water supply inlet tube incorporates an
inline strainer. Connect to ½" BSP stop tap.
2. Fit short barb adaptor to port at the
rear of Quadra unit marked 'Hot Outlet' .
Trim PVC tubing to correct length using
sharp knife. Excess tubing will cause
sagging and possible kinking. Push tube
onto barb adaptor and fit spring hose
clamp. Support may be needed for
PVC tube if there is a horizontal run.
3. Fit braided coupling marked 'Hot Inlet'
to matching port. Join to braided coupling
marked 'Water Out' using ½" joining nipple.
6
Operating the Mixer Tap
Operation of the mixer tap is as with any single
lever tap. Lift lever to start water flow. Swing to
the left for hot water and to the right for cold
water.
Hot water will not be available until Sahara
boiling water tank has filled and heated.
Bubbling in the hot water flow indicates
insufficient boiling water is available.
Wait a few minutes for tank to fill and heat.
Extended
barb
adapter
with PVC
tube fitted.
Note correct
position
of spring
clamp.
H
Mount
stud
Extended
nut
H
mount
clamp plate
Tubing removed
for clarity
hot tap outlet
PVC tube
water out
hot inlet
short barb
adaptor
Birds Eye View
hot in
power
dispensor
ambient
supply
power
(blue)
cord
hot out
boiling
(red)
(grey)
IN
OUT
Diagram 19
35-38mm
hole
IN
OUT
Diagram 20
water
in
½" BSP
stop tap
Diagram 21
water
supply
vent
Diagram 22