- ページ 2

自動車アクセサリー AVS BugflectorのPDF 取付説明書をオンラインで閲覧またはダウンロードできます。AVS Bugflector 10 ページ。 Hood shield
AVS Bugflector にも: 取付説明書 (7 ページ), 取付説明書 (7 ページ), インストレーション・インストラクション (2 ページ), 取付説明書 (7 ページ), 取付説明書 (7 ページ), 取付説明書 (6 ページ), 取付説明書 (10 ページ), 取付説明書 (6 ページ), 取付説明書 (6 ページ), 取付説明書 (10 ページ), 取付説明書 (6 ページ), 取付説明書 (9 ページ), 取付説明書 (6 ページ), 取付説明書 (6 ページ), 取付説明書 (10 ページ), 取付説明書 (10 ページ), 取付説明書 (6 ページ), 取付説明書 (10 ページ), 取付説明書 (6 ページ), 取付説明書 (10 ページ), 取付説明書 (6 ページ), 取付説明書 (6 ページ), 取付説明書 (6 ページ)
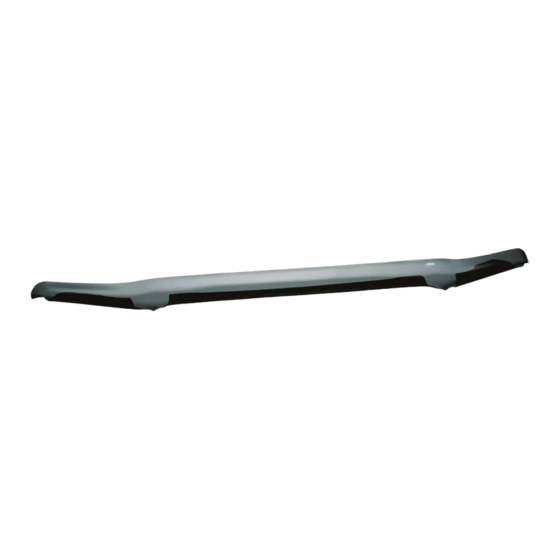
AVS Bugflector 取付説明書

Installation Steps

Remove hood shield from hood. Use a small pry bar to remove the factory installed fasteners attaching the rubber seal to the
Location marked in Step 2
3
Remove and discard the factory installed fastener.
Fastener
4
Gently pull the rubber seal back, and install (1) screw with (1) washer through hood shield flange and into hood.
6
Tighten all (6) screws until snug to secure
hood shield to hood.
7
NOTE: DO NOT OVER TIGHTEN
NOTE: Actual application may vary slightly from illustrations.
hood at the (6) locations marked in Step 2.
Repeat for remaining locations.
X6
X6
Reposition the hood shield on the hood with the flanges sliding
between the hood and the rubber seal. Align holes in hood shield
5
X6
8
Page 2 of 3
NOTE: Exercise extreme caution not to tear
or damage the rubber seal when seperating
from hood.
flange with holes in hood.
Close Hood.
Hood shield
Washer
Screw
Rubber seal