- ページ 5
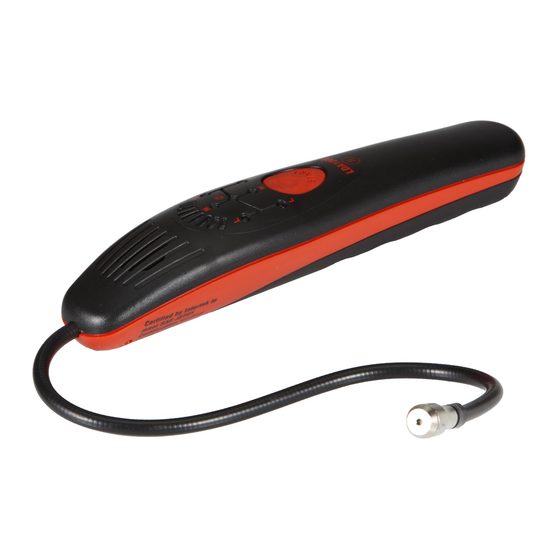
計測機器 CPS Pro-Set LDA1000HのPDF 操作マニュアルをオンラインで閲覧またはダウンロードできます。CPS Pro-Set LDA1000H 12 ページ。 Refrigerant leak detector
CPS Pro-Set LDA1000H にも: 操作マニュアル (12 ページ), 操作マニュアル (14 ページ)

OPERATION
Using the LDA1000H
Turning the instrument ON:
Press the red START button once to turn the unit ON. The
instrument initiates a sensor self-cleaning and conditioning
cycle which lasts for 35 seconds. During that time, the bar graph
indicator lights scan from left to right. When the audible alarm
turns on the instrument is ready to use.
Sensitivity settings:
The LDA1000H features 6 manually selectable settings, 3 for the
R-134a mode—L, M and S—indicated by blue LED's, and 3 for
the HFO-1234yf mode—L, M and S—indicated by white LED's.
The instruments starts in the Large Leak (L) setting for the R-134a
mode and advances clockwise with every press of the red START
button. The unit will always start in lowest sensitivity position in
the R134a mode. In this mode, the instrument responds to leak
rates equal to or greater than 14 g / yr (0.5 oz / yr.). The bar graph
indicator shows the user how much bigger than that leak rate the
detected leak is. If no indication is obtained in that setting, then
press the red START button to advance the sensitivity to the 7 g
/ yr. (0.25 oz / yr). If no indication is obtained in this range, then
press START again and go the highest sensitivity setting of 4 g /
yr (0.15 oz / yr). Pressing the START button once more puts the
instrument in the lowest sensitivity setting of the HFO-1234yf
mode. NOTE: The LDA1000H is sensitive to all refrigerants
currently used in the automotive industry. If the vehicle being
checked for leaks uses a refrigerant other than R-134a or HFO-
1234yf, use the R-134a mode of the LDA1000H.
Turning the instrument OFF:
At any time during operation, press and hold down the yellow
START button until the LED display turns OFF. This indicates that
the unit has been shut down.
Low battery indicator
:
When the batteries reach approximately 10% of capacity, the
green LED next to the symbol (
) will turn off.
Windy conditions:
Locating leaks under windy conditions may severely impede the
leak searching process. Even very large leaks may be difficult
to locate as the escaping gas is quickly dissipated into the
atmosphere. If necessary, fabricate a gas trap using aluminum
foil around joints or fittings or otherwise shield the search area
from the wind.
Leak verification:
If a suspected leak is indicated, verify several times by moving
the sensor away from the leak area, resetting the unit and then
back to the suspected leak. If the instrument indicates a leak
three consecutive times, then you have found a leak.
5
