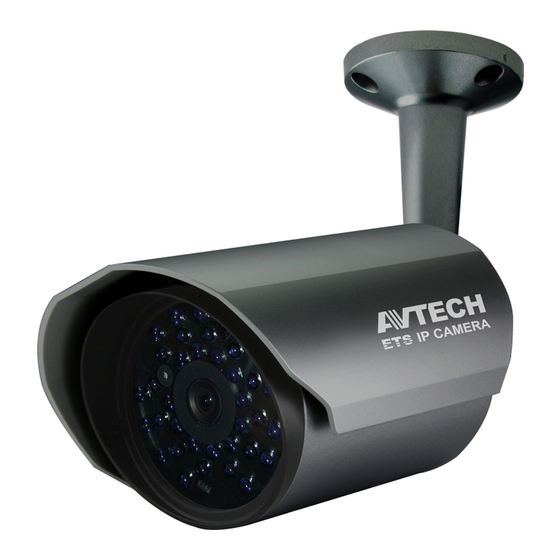
IPカメラ Avtech AVM457AのPDF インストレーション・マニュアルをオンラインで閲覧またはダウンロードできます。Avtech AVM457A 4 ページ。

CAMERA INSTALLATION
TYPE1
Standard package
Installation
Guide
Camera
Instructions
Bracket
Optional
Desiccants
CD manual
TYPE2
Standard package
Installation
Guide
or
Camera and Sun Shield
Instructions
Optional
Installation
Desiccants
CD manual
Sticker
1
Step1: Fix the bracket to where you want to install the camera with the supplied screws.
Note: A file for its installation sticker could be downloaded from www.surveillance-download.com/user/a_installation_sticker.pdf.
Step2: Remove the Joint Lock from the bracket. Then, connect the Joint Lock to the backside of the camera.
Step3: Connect the camera with the Joint Lock connected to the bracket, and secure the Joint Lock to fix.
Step4: (Optional) To install a microSD card if supported, open the camera front cover, and refer to the section of "INSERT A MICRO SD
Screws &
CARD" for details.
wall plugs
Step5: (Optional) To adjust the focus and focal length if supported, open the front cover of the camera, and refer to the section of "ADJUST
FOCAL LENGTH & FOCUS" for details.
Step6: Adjust the viewing angle of the camera.
Note: With the camera, please adjust the angle up and down within 30 degree respectively, left and right within 15 degree respectively.
Step7: Fasten the sun shield to the camera.
Note: Secure the Joint Lock tightly to avoid the camera dropping down.
Step1: Paste the installation sticker on where you want to install the camera. Then, drill 4 screw holes as indicated on the sticker, and fasten
two screws to the top as shown on the right.
Note: Leave some space between the screws and wall to hook the bracket later.
Step2: Hang the camera at the screws you just fixed, and make sure the camera stays in place.
Decide the cable direction (up / down) before you fasten the screws tight to the wall.
Step3: Fasten all screws to secure the bracket to the wall.
Step4: Adjust the vertical and horizontal angles of the
camera with a wrench for a better viewing.
Note: To adjust the angle, for example the vertical angle. DO
NOT loosen / fix one side of the screw to the end at
once. Please do adjustment by taking turns on both
sides till the angle is fixed. Otherwise, the angle of the
Screws &
camera might not be fixed.
wall plugs
Note: In order to make the best performance, please adjust
the angle of IR shift up and down within 30 degree
respectively, left and right within 15 degree respectively.
Step5: (Optional) To install a microSD card if supported,
open the camera front cover, and refer to the section of "INSERT A MICRO SD CARD" for details.
Step6: (Optional) To adjust the focus and focal length if supported, open the front cover of the camera, and refer to the section of "ADJUST
FOCAL LENGTH & FOCUS" for details.
Step7: Fasten the sun shield to the camera.
To check the complete user manual and free PC CMS software (CMS Lite),
please scan the QR code or go to
www.surveillance-download.com/user/p359a.swf
765z
