- ページ 2
計測機器 Avtech RMA-FS2-SENのPDF インストレーション・ノートをオンラインで閲覧またはダウンロードできます。Avtech RMA-FS2-SEN 4 ページ。 Flood sensor spot

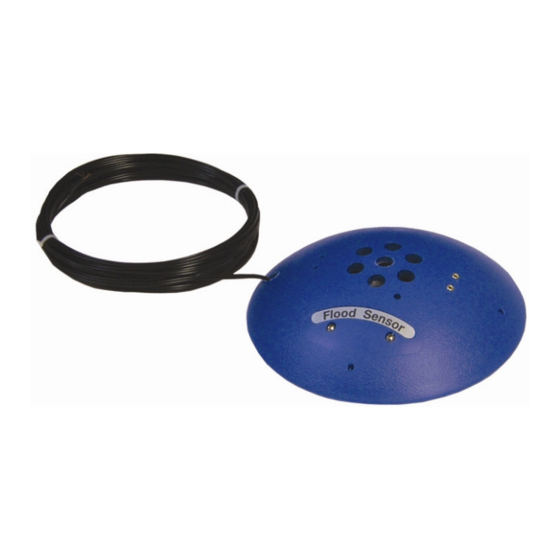
Flood Sensor (Spot) (RMA-FS2-SEN)
Step 2: Connect the battery.
Your Flood Sensor (Spot) comes with a 9V alkaline
battery inserted into the retainer clip under the housing.
Push the snap connector completely on to the
battery contacts. The snap connector arrives
partially off to prevent the battery from discharging while
it's stored and shipped.
Use only alkaline batteries in your sensor, and replace the
battery at least once a year. If your Flood Sensor (Spot)
gets activated often, you may need to replace it sooner.
Step 3: Mount your Flood Sensor (Spot).
1. Place your Flood Sensor on a flat surface in the area most prone to collect water.
2. You may simply rest the unit on its feet or remove the backing on the pads to stick it to
the surface. In either case, keep the feet on the unit: they create a gap necessary to allow
water to get to the contacts. If you remove them, the housing and surface may form a
seal, and water won't reach the contacts until it's risen up the sides or over the top.
Step 4: Connect your Flood Sensor (Spot) to Room Alert.
Your sensor comes with one end of a 25' low-voltage 2-wire cable already attached. The
leads are non-polarized.
1. Run the cable from the sensor back to your Room Alert monitor
or WiSH Sensor.
2. Connect the exposed leads to an open switch sensor port on your
Room Alert or WiSH Sensor. Again, the leads are non-polarized,
so you may connect either lead to either of the port's contacts.
Do not connect the dry contacts on AVTECH products or other electrical appliances
to live circuits.
Use only low-voltage 2-wire cable to connect dry contacts.
Test Your Flood Sensor (Spot)
Once you have inserted the battery and connected to Room Alert, you may easily test the sensor
by bridging the contacts with a paper clip.
AVTECH Software, Inc.
Retainer clip
Page 2 of 4
Snap connector
Contacts
Feet
AVTECH.com
