- ページ 19

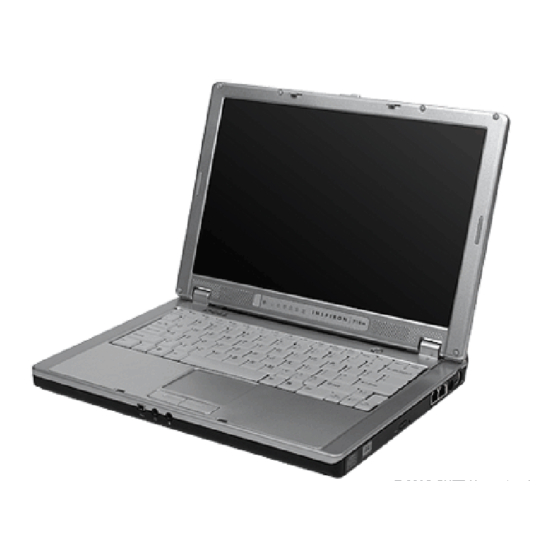
デスクトップ Dell Inspiron 600mのPDF サービスマニュアルをオンラインで閲覧またはダウンロードできます。Dell Inspiron 600m 40 ページ。 Hard drive
Dell Inspiron 600m にも: ここからスタート (2 ページ), ここからスタート (2 ページ), ここからスタート (2 ページ), スタートマニュアル (2 ページ), ユーザーマニュアル (34 ページ), セットアップマニュアル (2 ページ), はじめに (2 ページ), セットアップマニュアル (2 ページ), セットアップマニュアル (2 ページ), セットアップマニュアル (2 ページ), セットアップマニュアル (2 ページ), セットアップマニュアル (2 ページ), セットアップマニュアル (2 ページ), セットアップマニュアル (2 ページ), サービスマニュアル (41 ページ), メディアベース取扱説明書 (26 ページ), サービスマニュアル (41 ページ), インストールと設定 (38 ページ), クイックスタート (2 ページ), クイックスタート (2 ページ), クイックスタート (2 ページ), コンピュータのセットアップ (2 ページ), サービスマニュアル (41 ページ), サービスマニュアル (4 ページ)

Dell Inspiron 600m サービスマニュアル
 Replacing the Keyboard
 
1. Place the keyboard face-down on the upper case and flip the keyboard flex cable toward the front of the computer.
NOTICE:
To avoid damage to the connector pins, insert the keyboard flex cable evenly into the ZIF connector on the system board, and do not reverse
the keyboard flex cable.
 
2. Ensure that the ZIF connector is open by pulling the ZIF connector tabs toward the back of the computer.
 
3. Press the keyboard flex cable into the ZIF connector.
 
4. Close the ZIF connector by pushing the ZIF connector tabs toward the front of the computer.
To aid with proper flex cable connection, a locator line has been added near the end of the flex cable. Press the cable into the connector until the line
disappears and hold the cable steady while you close the ZIF connector. (The white line may reappear after the connector is closed, which should not
indicate a problem with the connection.)
NOTICE:
Position the keyboard flex cable so that it is not pinched when you replace the keyboard in the bottom case.
 
5. Turn the keyboard over and align the four securing tabs on the front of the keyboard with the slots on the upper case.
 
6. Ensure that all four keyboard securing tabs are engaged in their respective slots before trying to completely seat the keyboard. Press down on the left
and right <Alt> keys to help control tab/slot alignment.
When the keyboard appears to be completely seated, confirm that the front edge of the keyboard is aligned with the edge of the palm rest before
proceeding.
 
7. Replace the two M2.5 x 5-mm securing screws on the keyboard.
 
8. Replace the
hinge
cover.
Back to Contents Page