- ページ 19
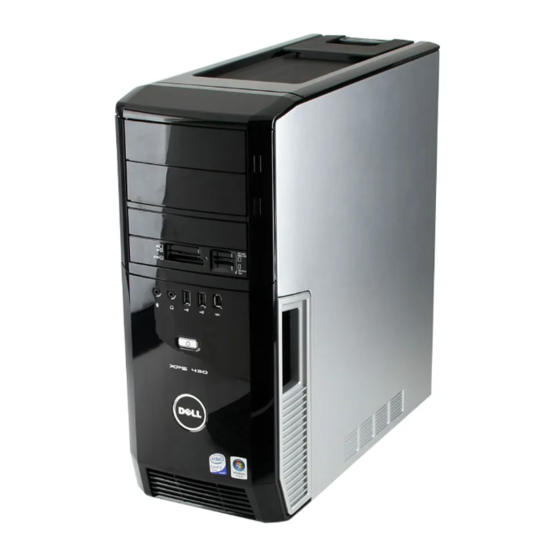
デスクトップ Dell XPS 430のPDF サービスマニュアルをオンラインで閲覧またはダウンロードできます。Dell XPS 430 42 ページ。 Dell xps computer setup
Dell XPS 430 にも: セッティング (2 ページ)

Replacing the Processor Fan Cage
1. Follow the procedures in
Before You
2. Remove the computer cover (see
3. Remove the processor airflow shroud (see
4. Disconnect the processor fan cable from the FAN_CPU connector on the system board (see
5. Lift and hold the release tab present at the bottom of the processor fan cage, press down on top of the cage and slide it towards the back of the
computer.
6. Ease the cage out of the housing.
7. To replace the processor fan cage, orient the processor fan power cable downward; insert the tabs along the bottom of the processor fan cage into the
corresponding slots on the cage housing and slide the processor fan cage towards the front of the computer, until it snaps into place.
8. Connect the processor fan cable to the FAN_CPU connector on the system board (see
9. Replace the processor airflow shroud (see
10. Replace the computer cover (see
Replacing the Processor Fan
1. Follow the procedures in
Before You
2. Remove the computer cover (see
3. Remove the processor airflow shroud (see
4. Disconnect the processor fan cable from the FAN_CPU connector on the system board (see
5. Remove the processor fan cage from the cage housing (see
6. Release the two tabs at the top and the bottom of the processor fan cage.
7. Carefully pull on the two bottom corners of the fan to detach the four rubber grommets securing the fan to the processor fan cage.
Begin.
Removing the Computer
Cover).
Replacing the Processor Airflow Shroud
Replacing the Processor Airflow Shroud
Replacing the Computer
Cover).
Begin.
Removing the Computer
Cover).
Replacing the Processor Airflow Shroud
Replacing the Processor Fan
Assembly).
System Board
Components).
System Board
Components).
Assembly).
Assembly).
System Board
Components).
Cage).
