- ページ 14
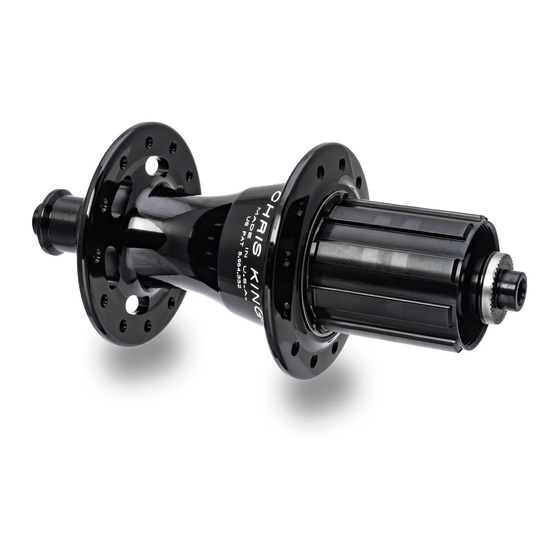
ツール Chris King R45 DISCのPDF マニュアルをオンラインで閲覧またはダウンロードできます。Chris King R45 DISC 20 ページ。 Hub
Chris King R45 DISC にも: ユーザーマニュアル (16 ページ)
grease on the teeth between them.
6. Let the rings spring back together and then wipe up any excess grease that squeezes
inward.
7. Apply a bead of RingDrive grease to helical splines on driveshell. Then apply a few
drops of Tri-flow
movable drive ring and the driveshell.
8. Before reinserting the driveshell into RingDrive area of the hub, the helical splines
must be clean of any debris.
9. Proceed to "Reinstallation of the driveshell assembly", below.
Service of the RingDrive™
In addition to the basic maintenance of the RingDrive, a complete removal and servicing
may be necessary. Complete service requires our Hub Service Tool Kit and, as a basic
guideline, should be performed at least once every 12 to 24 months. See any authorized
Chris King dealer for complete service or you may purchase a Hub Service Tool Kit from
your dealer or directly from Chris King Precision Components. Chris King Precision
Components provides overhaul services at reasonable rates. Contact the Customer
Service hotline at 800-523-6008 for details.
In a pinch...
If you need to perform a RingDrive service and don't have the Hub Service Tool Kit or
cannot make it to a dealer, this method may be used for temporary results:
1. Remove the axle and driveshell to access the interior RingDrive area.
2. Push the drive ring with helical splines inward to open a gap, exposing the drive
12
teeth and flush the interior with a light solvent-based spray lubricant (e.g., WD-40
until the area appears clean. Blow off any remaining solvent until completely dry.
3. If contamination is still apparent, repeat flushing and blow completely dry. A complete
service of both hub shell bearings should be performed at the same time. For
bearing service information see "Service of the bearings", pg. 13.
4. Finish by performing the "Basic maintenance", pg. 11.
5. After assembly, carefully hand test hub for smooth operation of the bearings and
consistent, positive engagement of the RingDrive. If performance is not improved
to original quality, a complete RingDrive removal service must be performed.
Reinstallation of the driveshell assembly
1. Check the helical splines of the driveshell for any particles or debris before
proceeding; the driveshell must be clean before installing.
2. Apply several drops of Tri-Flow
directly adjacent the O-ring. Apply a bead of RingDrive lube to the helical splines.
3. Insert driveshell into hub shell, slowly. As the driveshell enters the RingDrive area,
it will want to mesh the helical splines of the drive ring. As it begins to mesh, a
slight clockwise turning motion of the driveshell will help pull it into the hub shell.
Continue twisting as the driveshell pulls itself into the hub shell. At the bottom of
its inward movement, an audible "click" or "pop" sound indicates that it has found
home and is fully seated. The "click" or "pop" is the spring retainer popping onto
the driveshell and the driveshell seating on the bearing, indicating the driveshell is
fully inserted. Some pushing pressure on the driveshell may be necessary to pop
or a quality 10w synthetic oil onto both the helical splines of the
™
on the helical spline, O-ring, and tapered diameter
™
)
™