- ページ 10
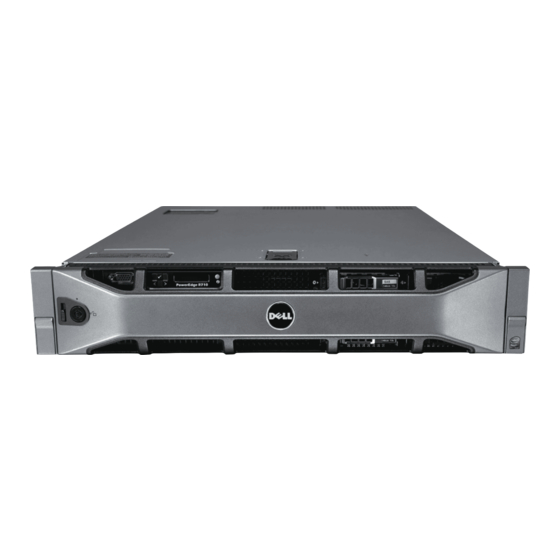
サーバー Dell POWEREDGE R710のPDF ユーザーマニュアルをオンラインで閲覧またはダウンロードできます。Dell POWEREDGE R710 28 ページ。 Poweredge series
Dell POWEREDGE R710 にも: ドキュメンテーション・アップデート (14 ページ), 情報更新 (14 ページ), 情報更新 (38 ページ), マニュアル (9 ページ), 更新マニュアル (14 ページ), 更新マニュアル (14 ページ), ポートフォリオ・マニュアル (27 ページ), 仕様 (2 ページ)

12. Click OK.
Connecting the storage to the host
We attached the database volumes on the Dell EqualLogic PS6000 storage to the Dell PowerEdge R710 server
by connecting all four NICs available on the PS6000 array to a Dell PowerConnect 6248 switch. We used two
physical NICs in the server dedicated to iSCSI traffic to connect the Microsoft iSCSI Initiator within each VM to
their respective database volumes. We used the remaining NICs in the server for normal network communication
and VMkernel traffic. iSCSI traffic used one subnet, while normal network communication used a separate subnet.
Adding the iSCSI storage adapter in ESX
1. On the management workstation, click Start, All Programs, VMware, VMware vSphere client.
2. Click the Configuration tab.
3. Click Networking.
4. Click Add Networking...
5. Select the VMkernel radio button, and click Next.
6. Deselect any selected NICs that vSphere shows as "down." Select the first of the available four NICs that
vSphere does not show as "down" in the Speed column. Click Next.
7. Assign a label to the network. Click Next.
8. Enter a valid IP address and subnet. Click Next.
9. Click Finish.
10. Click No when the application prompts you to enter a default gateway.
11. Click the Configuration tab.
12. Click Storage Adapters under Hardware pane.
13. Click iSCSI Software Adapter. Then, click Properties.
14. Click Configure.
15. Click Enabled.
16. Click OK.
17. After the application enables the device, click the Static Discovery tab.
18. Click Add.
19. Enter the IP address of the storage group. Additionally, enter the initiator target name for the large LUN
you will use for operating system virtual disks, which is accessible from the Dell EqualLogic Group
Manager web application.
20. Click Close.
21. Click Yes when the application prompts you to rescan for changes.
Adding the OS storage LUN as a datastore to ESX storage
1. In vSphere, click the Configuration tab.
2. Click Storage in the Hardware pane.
3. Click Add Storage...
4. Choose Disk/LUN. Click Next.
5. Select the appropriate LUN. In our case, this was our large 400GB OS-LUN. Click Next.
6. Click Next.
7. Enter a name for the datastore. Click Next.
8. Click Next to accept the defaults for block size.
9. Click Finish to complete the addition of the LUN.
Setting up the iSCSI NICs with vSphere
1. Click the Configuration tab.
2. Click Networking.
3. Click Add Networking.
4. Click Virtual Machine.
5. Choose to Create a virtual switch. Assign the relevant NIC in the system. Click Next.
6. Assign a network name.
7. Click Finish.
8. Repeat steps 1 through 7 once more.
Principled Technologies, Inc.: Initial investment payback analysis: Dell PowerEdge R710
solution with VMware ESX vs. HP ProLiant DL385 solution
10
