- ページ 19
サーバー Dell PS6000のPDF ハードウェア・メンテナンスをオンラインで閲覧またはダウンロードできます。Dell PS6000 50 ページ。 Storage arrays
Dell PS6000 にも: ハードウェアマニュアル (50 ページ), 概要 (7 ページ), クイック・リファレンス・マニュアル (2 ページ)

PS6000 Hardware Maintenance
For example:
•
If a spare disk is available, it replaces the failed disk. Performance is normal
after reconstruction completes.
•
If a spare disk is not available and the failed disk is in a RAIDset with no
previous disk failure, the RAIDset becomes degraded. Performance may be
impaired.
•
If a spare disk is not available and the failed disk is in a RAIDset that is
already degraded, data may be lost and must be recovered from a backup.
•
If a disk fails, do not remove and re-install it in the array. It must be replaced.
Removing Disks
Caution:
Wear electrostatic protection when handling a disk. See Using an
Electrostatic Wrist Strap on page 1-5.
Notes: Replace a failed disk as soon as possible to provide the highest
availability.
Do not remove a disk from a slot, unless you have another disk or a blank
carrier to replace it. Each slot must contain a disk or blank carrier.
Do not remove a functioning disk from an array, unless the disk is a spare;
otherwise, a RAIDset may become degraded. If you remove a spare,
replace the disk as soon as possible.
Before completely removing a functioning disk from an array slot, wait
30 seconds to allow the disk to stop spinning and the heads to land.
Store replacement disks in the packaging in which they were shipped.
To remove a disk:
1. Press the handle release button to the left, in the direction of the arrow, to
disangage the handle.
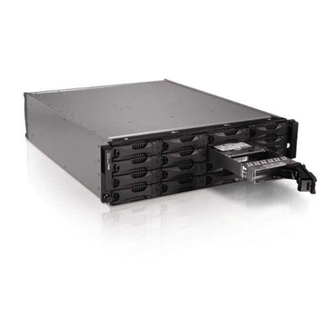
2. Grasp the handle and pull the disk 2.5 cm (1 inch) from the slot. See Figure 2-
6.
Maintaining Disks
2–5
