- ページ 30
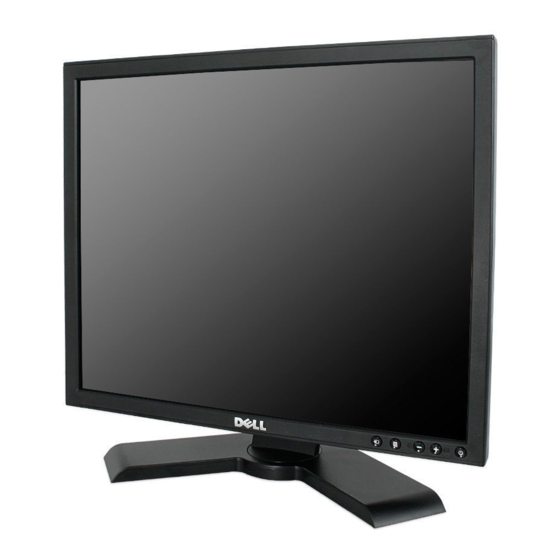
モニター Dell 1908FPtのPDF ユーザーマニュアルをオンラインで閲覧またはダウンロードできます。Dell 1908FPt 33 ページ。 Flat panel monitor

Troubleshooting:Dell 1908FP-BLK Flat Panel Monitor User's Guide
Sync Problems
Screen is scrambled or appears torn
LCD Scratched
Screen has scratches or smudges
Safety Related
Visible signs of smoke or sparks
Issues
Intermittent
Monitor malfunctions on and off
Problems
Image Retention
Faint Shadow from the static image
(from a static
displayed appears on the
image)
screen
Product Specific Problems
Specific Symptoms
Screen image is too small
Cannot adjust the monitor with
the buttons on the front panel
USB Problems
Specific Symptoms
USB interface is not working USB peripherals are not working.
High Speed USB 2.0
interface is slow
Troubleshooting Your Soundbar
Specific Symptoms
No Sound
file:///T|/htdocs/monitors/1908WFP/1908FPBL/en/ug/solve.htm[11/8/2012 12:10:51 PM]
What You Experience
Image is centered on screen,
but does not fill entire
viewing area.
OSD does not appear on the
screen
What You Experience
High Speed USB 2.0 peripherals working slowly
or not at all.
What You Experience
No power to Soundbar - the power indicator is off.
(built-in DC power supply. i.e.1908FP-BLK )
mode.
Check for bent or broken pins.
Perform monitor reset.
Push Auto Adjust button.
Adjust Phase and Clock controls via OSD.
Perform monitor self-test feature check to determine if scrambled screen appears in self-test
mode.
Check for bent or broken pins.
Boot up in the "safe mode".
Turn monitor off and clean the screen.
For cleaning instruction, see
Do not perform any troubleshooting steps.
Monitor needs to be replaced.
Ensure monitor is in proper video mode.
Ensure video cable connection to computer and to the flat panel is secure.
Perform monitor reset.
Perform monitor self-test feature check to determine if the intermittent problem occurs in
self-test mode.
Use the Power Management feature to turn off the monitor at all times when not in use.
Alternatively, use a dynamically changing screensaver left on the monitor for a long period of
time.
In OSD Menu, under Reset to Factory Settings, select Enable LCD Conditioning. Using this
option may take several hours before the image is eliminated.
NOTE: Image Burn-in is not covered by your warranty.
Perform monitor reset on "All Settings."
Turn off the monitor, unplug the power cord, plug back, and then turn on the monitor.
Check that your monitor is turned ON.
Reconnect the upstream cable to your computer.
Reconnect the USB peripherals (downstream connector).
Switch off and then turn on the monitor again.
Check that your computer is USB 2.0 capable.
Verify USB 2.0 source on your computer.
Reconnect the upstream cable to your computer.
Reconnect the USB peripherals (downstream connector).
Cleaning Your
Monitor.
Possible Solutions
Possible Solutions
Possible Solutions
Turn the Power/Volume knob on the Soundbar clockwise to
the middle position; check if the power indicator (white
LED) on the front of the Soundbar is illuminated.
Confirm that the power cable from the Soundbar is plugged
