- ページ 15
ストレージ Dell PowerEdge SC420のPDF オーナーズマニュアルをオンラインで閲覧またはダウンロードできます。Dell PowerEdge SC420 26 ページ。 Expansion enclosure
Dell PowerEdge SC420 にも: 交換マニュアル (14 ページ), スタートマニュアル (7 ページ), 情報更新 (21 ページ), オーナーズマニュアル (21 ページ)

NOTE: To ensure proper expansion enclosure cooling, hard drive blanks must be installed in any
hard drive slot that is not occupied.
Pre-Replacement Procedures
Perform the procedures described in this section before replacing a component of the SC400/SC420
expansion enclosure.
Send Diagnostic Data Using Dell SupportAssist
Use Dell SupportAssist to send diagnostic data to Dell Technical Support Services.
1.
Click Send SupportAssist Data Now. The Send Support Assist Data Now dialog box appears.
2.
Select Storage Center Configuration and Detailed Logs.
3.
Click OK.
Replacing the Front Bezel
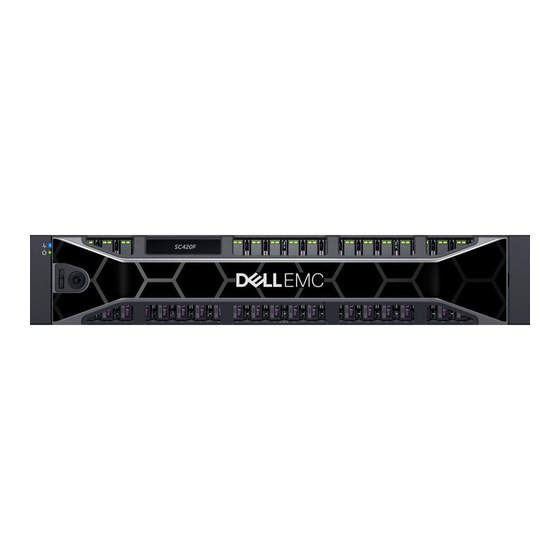
The front bezel is a cover for the front panel of the expansion enclosure.
About this task
The front bezel must be removed from the front panel when replacing hard drives.
Steps
1.
Use the system key to unlock the keylock at the left end of the bezel.
2.
Lift the release latch next to the keylock.
3.
Rotate the left end of the bezel away from the front panel.
4.
Unhook the right end of the bezel and pull the bezel away from the expansion enclosure.
Figure 6. Replacing the Front Bezel
5.
Hook the right end of the replacement bezel onto the front panel of the expansion enclosure.
6.
Insert the left end of the bezel into the securing slot until the release latch locks into place.
7.
Secure the bezel with the keylock.
Replacing SC400/SC420 Expansion Enclosure Components
15
