- ページ 36
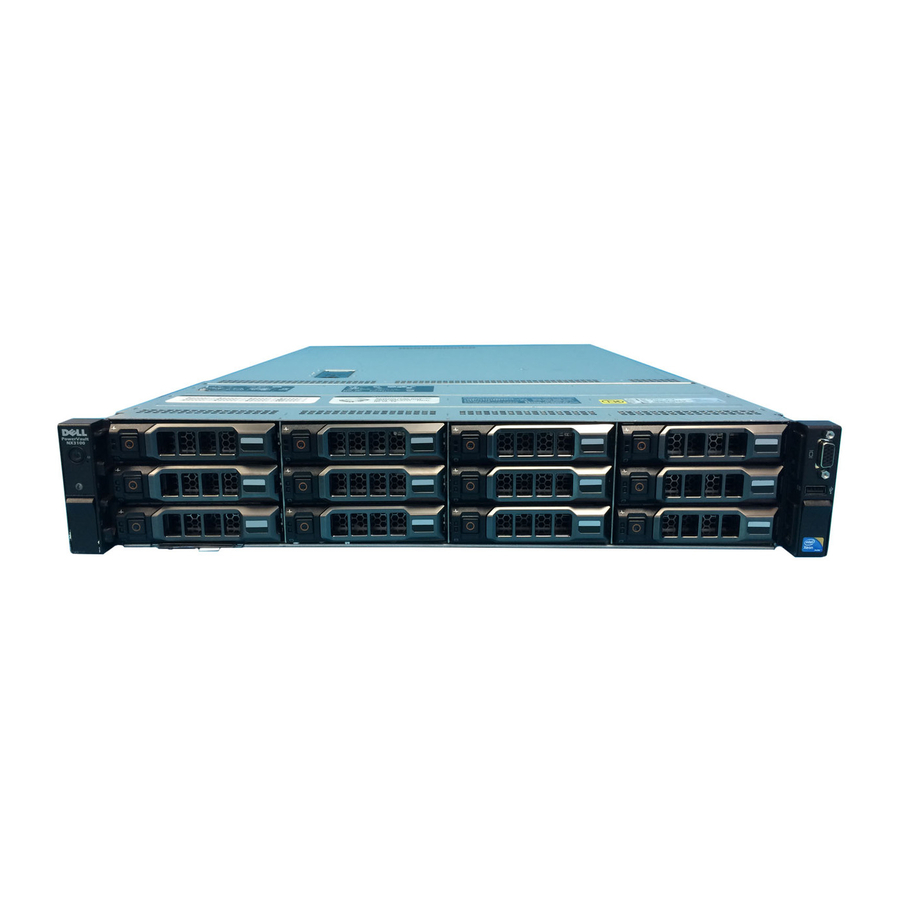
ストレージ Dell PowerVault NX300のPDF 管理者マニュアルをオンラインで閲覧またはダウンロードできます。Dell PowerVault NX300 50 ページ。 Document
Dell PowerVault NX300 にも: 更新マニュアル (32 ページ), ラックの設置 (2 ページ), トラブルシューティングマニュアル (17 ページ), インストレーション・インストラクション (2 ページ), セッティング (2 ページ)

Expand the Active Directory Schema node, expand the Classes node,
a
right-click User, and then click Properties.
In the Properties dialog box, click the Attributes tab.
b
Click Add to open the Select Schema Object dialog box.
c
Click gidNumber, and then click OK.
d
Click Add to open the Select Schema Object dialog box.
e
Click uidNumber, and then click OK.
f
Click OK.
g
12 Add the gidNumber attribute to the group class as follows:
Expand the Active Directory Schema node and the Classes node.
a
Right-click Group, and then click Properties.
b
In the group Properties dialog box, click the Attributes tab.
c
Click Add to open the Select Schema Object dialog box.
d
Click gidNumber, and then click OK.
e
Click OK.
f
13 Close the MMC, and then click Save.
Adding User and Group Account Maps from a UNIX-based Computer to a Windows-
Based Computer
The following steps are included in this procedure:
•
Connecting to the Distinguished Name or Naming Context. Follow this
procedure to set a default naming context and create a container to hold
your account mappings from UNIX to the Windows operating system.
•
Adding User Account Maps. Follow this procedure to create a user-class
object in the CN=Users container, to map the uidNumber, gidNumber,
and sAMAccountName attributes.
•
Adding Group Account Maps. Follow this procedure to create a group-
class object in the CN=Users container, to map the gidNumber and
sAMAccountName attributes.
36
Using Your NAS System
