- ページ 11
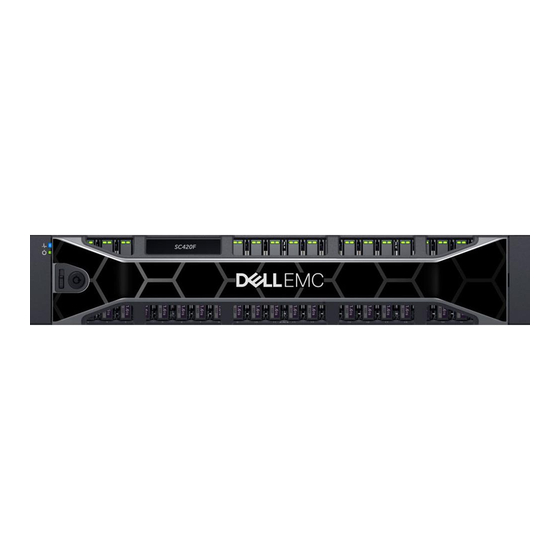
ストレージ Dell SC420FのPDF オーナーズマニュアルをオンラインで閲覧またはダウンロードできます。Dell SC420F 21 ページ。 Expansion enclosure
Dell SC420F にも: スタートマニュアル (7 ページ)

Steps
1.
Use the system key to unlock the keylock at the left end of the bezel.
2.
Lift the release latch next to the keylock.
3.
Rotate the left end of the bezel away from the front panel.
4.
Unhook the right end of the bezel and pull the bezel away from the expansion enclosure.
Figure 6. Replacing the Front Bezel
5.
Hook the right end of the replacement bezel onto the front panel of the expansion enclosure.
6.
Insert the left end of the bezel into the securing slot until the release latch locks into place.
7.
Secure the bezel with the keylock.
Replacing Hard Drives
The SC400 series expansion enclosures supports hot-swappable hard drives.
The SC400 expansion enclosure supports up to 12 3.5-inch hard drives installed in a four-column, three-row configuration. The
SC420 expansion enclosure supports up to 24 2.5-inch hard drives installed vertically side-by-side. The SC420F supports up to 24
2.5-inch SSDs installed vertically side-by-side. Hard drives are connected to a backplane through hard drive carriers. Hard drive
blanks are installed in the hard drive bays that are not occupied.
NOTE: One spare drive is allocated for every 20 drives in the expansion enclosure.
SC400 Series Expansion Enclosure Drive Numbering
Drives are numbered from left to right in the SC400 series expansion enclosure.
The Storage Center identifies drives as XX-YY, where XX is the unit ID of the expansion enclosure, and YY is the drive position inside
the expansion enclosure.
•
The SC400 holds up to 12 drives, which are numbered from left to right in rows starting from 0 at the top-left drive.
Figure 7. SC400 Drive Numbering
•
The SC420 and SC420F holds up to 24 drives, which are numbered from left to right starting from 0.
Figure 8. SC420 and SC420F Drive Numbering
Replacing SC400 Series Expansion Enclosure Components
11
