- ページ 8
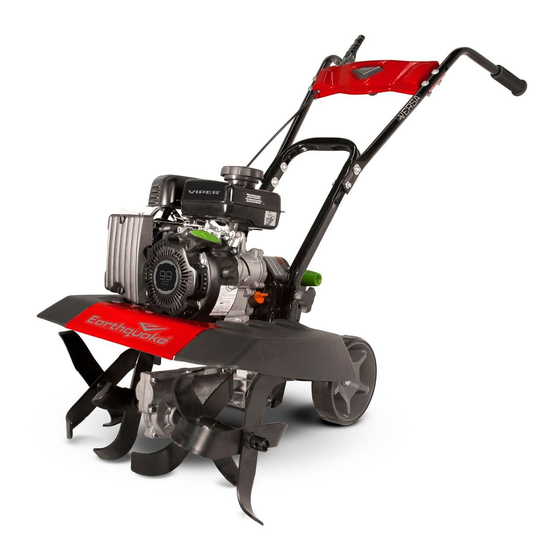
ティラー EarthQuake VERSA SeriesのPDF オーナーズマニュアルをオンラインで閲覧またはダウンロードできます。EarthQuake VERSA Series 13 ページ。 Compact tiller and cultivator

2nd
E
1st
Remove four M5 x 12 mm Hex Flange Bolts from pulley
box cover. Place pulley box cover onto pulley box and
secure with the four M5 x 12 mm Hex Flange Bolts using
an 8mm wrench.
FIGURE 8 (FOR MODELS 20015/24734)
13
mm
D
10
mm
8
mm
B
H
Align right handlebar mount holes with lower handlebar assembly mount holes at one of two height positions. Secure right
handlebar with two M8 x 40 mm Hex Flange Bolts, two M8 x 25 mm Flat Washers, and Two M8 Nylock Nuts and hand tighten.
Repeat for left handlebar. Align middle dash panel with mount holes of right and left handlebars. Secure middle dash panel
with four M6 x 35 mm Hex Flange Bolts, and four M6 Nylock Nuts. Tighten all handlebar hardware with a combination of
8mm, 10mm, and 13mm wrenches. Use two zip ties to secure the forward cable. (optional).
14
Get parts online at www.GetEarthquake.com or Call 800-345-6007 M-F 8-5 CST
VERSA COMPACT TILLER AND CULTIVATOR
8
mm
Slide drag stake through drag stake mount and secure
with lockpin at the desired depth.
FIGURE 9
J
F
FIGURE 10
Owner's Manual
87+
K
Insert Z-bend end of drive cable into one of the three
holes in the drive control lever ensuring there is no excess
slack in the cable and the drive control lever remains in
the full up position.
WIDE TILLING (21 INCHES)
NOTE: Tines can be configured for multiple tilling situations:
a.
Wide Tilling - Install according to Figure 6.
b. Narrow Tilling - Remove outer tines and lock pins and install on opposite tine shaft with the directional arrows
pointing in the direction of forward rotation.
c.
Narrow Cultivating - Remove outer tines and lock pins. Side shields can also be removed for better viewing of plants.
VIPER
10W30
FIGURE 11
NARROW TILLING (16 INCHES)
FIGURE 12
Get parts online at www.GetEarthquake.com or Call 800-345-6007 M-F 8-5 CST
Owner's Manual
VERSA COMPACT TILLER AND CULTIVATOR
NARROW CULTIVATING (11 INCHES)
15
