- ページ 3
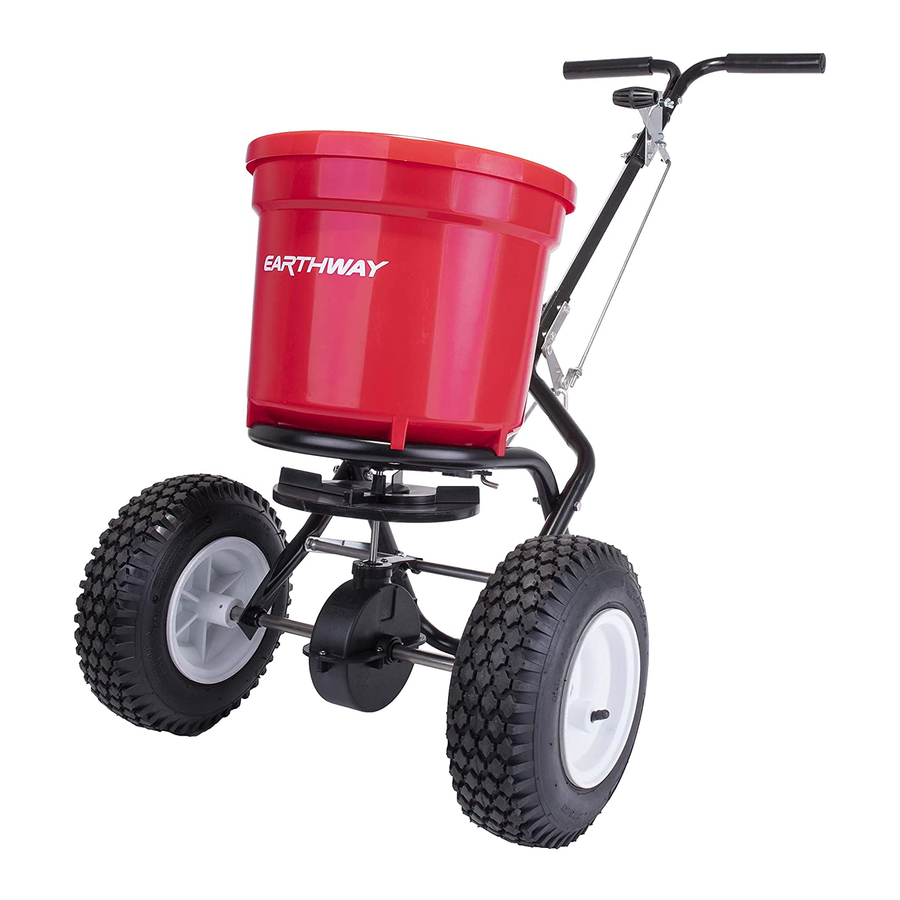
スプレッダー EarthWay EV-N-Spred C22HDSのPDF 組立・取扱説明書をオンラインで閲覧またはダウンロードできます。EarthWay EV-N-Spred C22HDS 6 ページ。 Broadcast spreader
EarthWay EV-N-Spred C22HDS にも: 組立・取扱説明書 (8 ページ), 組立・取扱説明書 (6 ページ)

s
2
tep
6. Install drive wheel to axle using pin hole nearest to lower handles
as shown. Insert 2" cotter pin through wheel and through axle.
Bend with pliers to prevent pin from falling out.
NEXT
Install coast wheel to axle, and then using outside pin hole on
the axle (as shown on the left), insert 1" cotter pin through axle
[NOTE: not thru the wheel]. Bend with pliers to prevent pin from
falling out.
TURN SPREADER UPRIGHT ON TO WHEELS
If you have any questions regarding
assembly, please review our video online
www.earthway.com/product/
professional-spreaders/video
or call 574-848-7491
7. Insert Pivot Rod with double bend end into Shut-off
plate as shown below then rotate to the right to secure in
the Shut-off. [TIP: Insert Pivot Rod end from the top, then
push down & turn to lock in place.]
8. Insert other end of pivot rod into pivot and bracket
assembly as shown. [TIP: Insert rod end from the side
that has the angle attached to the bracket, then turn
to lock in place as shown below and at the right. The
correct positioning of the Pivot Bracket has the Angle and
Attaching Arm facing away from the gearbox.]
at
Insert Pivot Rod
into Shut-Off
and rotate to secure
Angle
Attaching
Arm
1" Cotter Pin
1/4-20
Lock Nut
and cupped
washer
9. Install handle shafts to lower handles and pivot & bracket assembly as
shown above. Using (4) 1 ½" bolts with cupped washers and (4) locknuts (2)
cupped washers. [TIP: Attach left (Pivot Bracket) side with cupped washers
only on the bolt, then attach the right side with cupped washers on both nuts
and bolts.
TIGHTEN BOLTS AND NUTS NOW.
2" Cotter Pin
1/4-20 X 1-1/2"
Hex Head Bolt
and cupped washer
Notice the position
of the double bend point.
PAGE 3
