- ページ 16

デスクトップ HP 2530p - EliteBook - Core 2 Duo 2.13 GHzのPDF ユーザーマニュアルをオンラインで閲覧またはダウンロードできます。HP 2530p - EliteBook - Core 2 Duo 2.13 GHz 24 ページ。 Notebook pc
HP 2530p - EliteBook - Core 2 Duo 2.13 GHz にも: 仕様 (36 ページ), 製品マニュアル (16 ページ), ユーザーマニュアル (15 ページ), ネットワーク・マニュアル (16 ページ), 仕様 (2 ページ), ユーザーマニュアル (27 ページ), セットアップマニュアル (19 ページ), 概要 (16 ページ), マニュアライン (12 ページ), ソフトウェア・インストール・マニュアル (8 ページ), マニュアライン (6 ページ), 設定・構成マニュアル (18 ページ), ドライバーのインストール (20 ページ), マニュアル (20 ページ), マニュアライン (7 ページ), ユーザーマニュアル (31 ページ), ユーザーマニュアル (46 ページ), ユーザーマニュアル (44 ページ), ユーザーマニュアル (42 ページ), 仕様 (45 ページ), ユーザーマニュアル (30 ページ), クイックスペック (46 ページ)
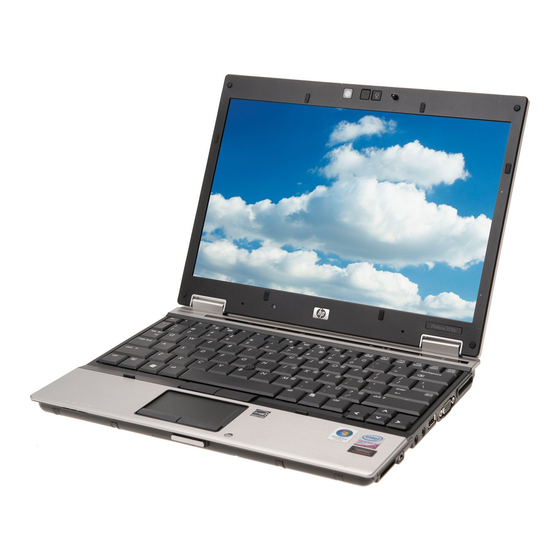
HP 2530p - EliteBook - Core 2 Duo 2.13 GHz ユーザーマニュアル

Configuring QuickLook 2

To configure QuickLook 2, follow these steps:
1.
Open Microsoft® Outlook.
QuickLook 2 displays 2 icons on the Outlook toolbar:
The QuickLook 2 Preferences icon enables you to set automatic data collection preferences.
The QuickLook Capture icon enables you to manually initiate QuickLook 2 information capture
in addition to automatic retrieval.
NOTE:
2.
Click the QuickLook 2 Preferences icon on the Outlook toolbar.
The QuickLook 2 Preferences dialog box opens.
3.
Set the following preferences:
When you want QuickLook 2 to capture information from Outlook and save it on your hard
drive
What types of data you want to be displayed for your calendar, contacts, e-mail, and tasks
4.
Select security, if needed, and set a personal identification number (PIN).
12
Chapter 4 Using HP QuickLook 2
For most tasks, you will use the QuickLook 2 Preferences icon.