SECTION 5
SECTION 5
SECTION 5
6-4.
Lift-Arc Start Procedure
Lift-Arc Start Method
"Touch" 1–2 Seconds
Do NOT Strike Like A Match!
6-5.
Fan-On-Demand
This unit is equipped with Fan-On-Demand. The fan operates only when necessary to cool internal components. At power down, the fan will op-
erate for a short period of time.
6-6.
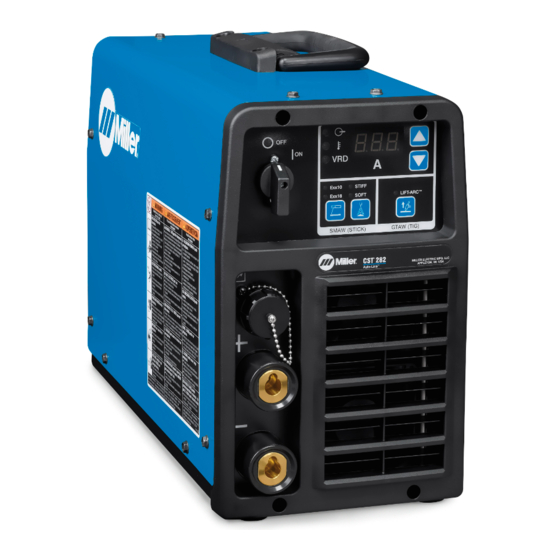
Enabling VRD Mode
1
OM-285986 Page 22
TIG PROCEDURES
TIG PROCEDURES
�
TIG PROCEDURES
Complete Parts List is available at www.MillerWelds.com
1
2
1
2
1
2
2
Lift-Arc Start
When Lift-Arc
™
button light is On, start arc as
follows:
1 TIG Electrode
2 Workpiece
Turn gas on. Touch tungsten electrode to
workpiece at weld start point, enable output
and shielding gas with torch trigger, foot con-
trol, or hand control. Hold electrode to
workpiece for 1-2 seconds, and slowly lift
electrode. Arc is formed when electrode is
lifted.
Normal open-circuit voltage is not present
before tungsten electrode touches work-
piece; only a low sensing voltage is present
between electrode and workpiece. The solid-
state output contactor does not energize until
after electrode is touching workpiece. This
allows a properly prepared electrode to
touch workpiece without overheating, stick-
ing, or getting contaminated.
Application:
Lift-Arc is used for the DCEN or process
when HF Start method is not permitted, or to
replace the scratch method.
�
Enabling
Voltage-Reducing
(VRD) mode configures the CST 282
to operate in VRD mode using low
Open Circuit Voltage (Low-OCV).
�
To enable the VRD Mode, visit
millerwelds. com/support/software
select CST to download the software to
a USB drive.
3
1 VRD Indicator
2 AMP Display
3 Amperage Adjust
Step 1. Insert flash drive into the USB port
on rear panel.
Step 2. Power unit ON.
Step 3. VRD indicator will flash with either
ON or OFF being displayed on the AMP
display.
Step 4. Use the Amperage Adjust buttons to
select ON (low OCV ON) or OFF (low OCV
OFF).
Step 5. Turn unit OFF and remove flash
drive from rear panel USB port.
OM-275857 Page 17
OM-275857 Page 17
OM-275857 Page 17
Device
www.
and