- ページ 20
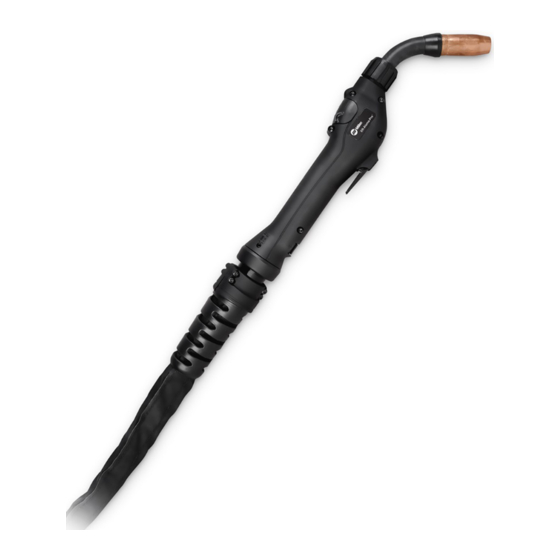
溶接システム Miller XR-W Aluma-Pro Plus 25のPDF オーナーズマニュアルをオンラインで閲覧またはダウンロードできます。Miller XR-W Aluma-Pro Plus 25 36 ページ。 Air and water-cooled guns

6-8. Replacing The Gun Liner On XR-Aluma-Pro Plus Guns
.
Refer to instructions below.
!
Turn Off welding power source and
wire feeder.
1
Cable Cover Jacket
2
Liner
3
Liner Lock Allen Screw
4
Liner Guide Reducer
5
Wire Guide Cone
6
Wire Collet Guide
7
Power Pin
8
Clasp Assembly Top
9
Clasp Assembly Bottom
10 Strain Relief
11 Screws (4)
Lay gun cable out straight
OM-285555 Page 16
1
10
Remove Old Liner (Item 2) From Gun End
Install New Liner (Item 2) Into Gun End
5
6
2
7
.
Gently pry open
slots to remove
wire collet guide.
.
Cut liner flush with
wire collet guide.
Remove screws (4) holding clasps
(top and bottom) and separate halves.
Pull strain relief away from gun end.
Separate Velcro cable jacket approximate-
ly 12 inches to expose internals of cable.
Loosen liner lock allen screw (located near
back of handle) to remove liner guide re-
ducer from gun.
Remove wire guide cone and wire collet
guide from power pin.
Remove old liner from gun end (see illus-
tration above).
Insert new liner into gun end and continue
feeding liner through cable assembly until
11
8
2
4
9
Power Pin End
liner is through power pin assembly and is
visible.
Install liner assembly into gun and firmly
tighten (do not over tighten) liner lock allen
screw.
Reinstall wire collet guide at power pin and
tighten onto liner.
Cut liner off flush with wire collet guide. Re-
install wire guide cone.
Reinstall all components in reverse order
as disassembled.
Torque screws (4) to 20 in lbs holding
clasps (top and bottom) assembly.
See Section 5-5 for instructions on re-
threading wire
3
Gun End
Ref. T0080-A
