- ページ 6
浄水器 AquaPRO PF4500UVのPDF 取扱説明書をオンラインで閲覧またはダウンロードできます。AquaPRO PF4500UV 16 ページ。 Pressure filter/uv clarifier

USING THE BACKWASH
Whilst the filter is still functioning, connect tubing to the backflush outlet of the filter. You can divert the dirty water
into a garden bed or into a drain. Turn the valve on the backwash outlet to open.
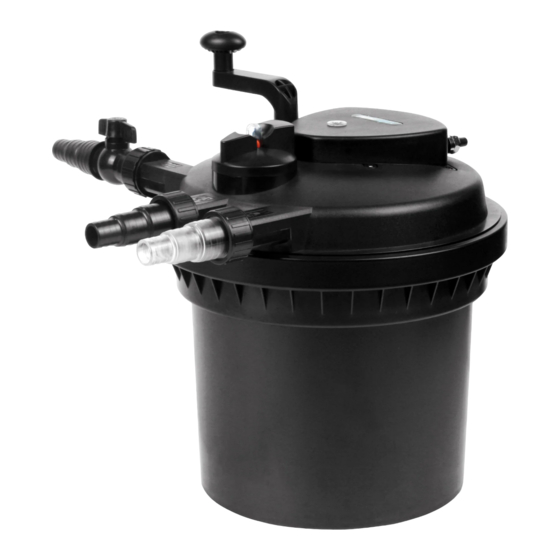
• Now turn the backwash arrow shaped dial on the
top of the filter to "clean" mode. (The arrow will face
towards the ball valve backwash outlet). The water
from the normal outlet will now be diverted through
the backwash outlet.
• Turn the cleaning handle anti-clockwise on the filter
several times (24-36 times) or until the water exiting
the backflush outlet runs clean. This squeezes the filter
sponges and cleans them mechanically.
• Maintain the filter sponge regularly according to how
quickly the sponge gets clogged. When the flow starts
to be reduced, check and clean if necessary. This
depends on your water volume and how many fish you
are keeping. Some may have to do this weekly.
FULLY DISASSEMBLE & RINSE
Turn off your pump and disconnect the power cord from any electrical source. Undo the threaded inlet and outlets
hosetails from the filter, unclip the lid clamp and carefully remove the lid.
• Take care not to lose or damage the O'ring seal.
Unscrew the clear locking screw at the bottom of the
filter sponge layers (or the black base plate on the
bigger models). Undo the screw that holds the S/Steel
shaft in place and remove the base plate. Now remove
the foam sponge rings from off the centre cores and
rinse them in dechlorinated water or pond water.
• Be sure to thoroughly squeeze the sponges to remove
sludge.
• Remove the high efficiency bio media cassette (in
the larger models) from the bottom of the filter
canister. Only remove any excess brown sludge from
the biospheres. You should not remove all of this
brown matter as this is the beneficial bacteria, which
is essential in the breakdown of toxic waste from your
pond.
AQP AP2100UV Instructions.indd 6
Firmly push the lid back onto
the canister. Fasten the lid
clamp in place and reconnect
the inlet and outlet hoses.
A Q U A T E C E Q U I P M E N T . C O M
The best time to physically remove and clean your filter
is when completing a 20% water change, as you can
use the pond water you are discarding to clean all of
the parts of your spongers. Using tap water will kill the
good beneficial bacteria, found in filter sponges, with
the chlorine that is found in tap water.
• You can help boost the biological function of your filter
sponge with a bacterial additive. This is available from
your local stockist.
• Now clean out the canister of your filter and any debris
from the lid of the filter and then reassemble. First
reassemble the partially cleaned bio media cassette
into the canister. Then insert lid with the foam sponges
installed onto the centre core. The Foam sponges
should alternate from Blue to Yellow.
• Now put the lid back in place, taking care to locale the
O'ring in the correct position. See diagram. To lubricate
the O'ring use a food safe grease. Aquatec Equipment
recommends the use of Inox MX6.
Now plug the pump and
filter UV light back in, turn
on, and sit back and enjoy
your watergarden.
27/10/16 7:53 am
