- ページ 4
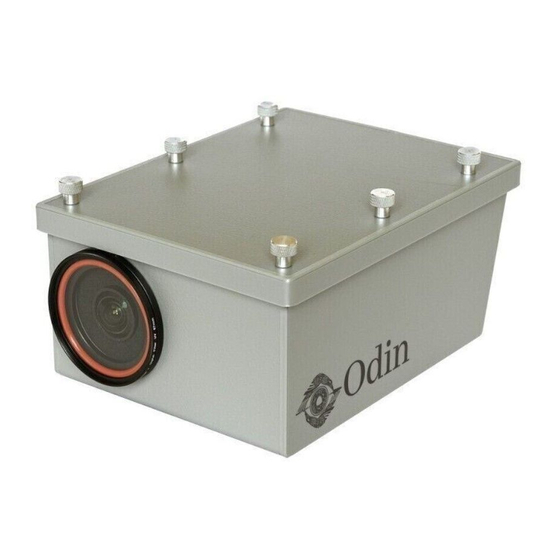
デジタルカメラ Chronosys OdinのPDF クイック・スタート・マニュアルをオンラインで閲覧またはダウンロードできます。Chronosys Odin 4 ページ。

Ending your recording, or stopping midway to download images
1.
Toggle switch upwards to the "Setup" position
2. (Wait 20 seconds) - You may now safely remove the USB thumb drive to transfer your
image files to your computer for editing.
3. You may now log back into the Odin UI, just complete steps 7,8 and 9.
You can download, and view images using the "download images" feature in the "utilities" section of
the UI. IMPORTANT - it is not advised to download a large number of images as the transfer speed
is relatively slow - 2GB would roughly take about 10 mins to complete, and use considerable battery
power.
TIPS
- Before using your Odin camera on an important project, we would advise you to do several
test runs to check configurations and learn how to get the best results from the camera.
When installing the solar panel, please ensure you direct the panel in a SOUTH-facing direction (for
the northern hemisphere). A 30 deg angle is optimal for year-round efficiency. Try to place the panel
in direct sun and avoid any broken light from trees or foliage.
If using the Odin camera for many months, make sure you return to check the camera as often as
possible. About 2 months is ideal to check:
● The solar panel is free from dirt and pointing in the optimal direction
● The lens is clear from dirt (you can use
● Transfer images to safely back up your project as often as possible.
● Replace "Silica Gel" sachets to prevent any potential internal moisture buildup.
You can find a full PDF manual for download at
video tutorials and how-to videos on the website. If you still need any advice, please call us on 0333
577 1422.
Chronosys © 2022
www.rainX.co.uk
for best results)
www.chronosys.co.uk/support
. You can also find
Page 4 of 4
