- ページ 2
浄水器 Aquasana AQ-4501のPDF インストレーション・インストラクションとサービス・マニュアルをオンラインで閲覧またはダウンロードできます。Aquasana AQ-4501 2 ページ。 Premium under counter water filter

Precautions and important information:
Stop. Did you pick a location for the faucet mount?
• Determine the appropriate location for the faucet to be mounted
• The faucet may be mounted using an existing hole for a sprayer nozzle, or by
drilling a 7/8" hole in the sink or countertop
• Note: we do not recommend drilling granite or porcelain sinks unless done by
a professional. Be sure the location of the faucet allows the spout to extend
slightly past the edge of the sink as all faucets have a 4" overhang
"Pure Satisfaction"
All aquasana products offer a 90-day 100% money back guarantee. If for any
reason you are not satisfied with your purchase, simply call us, or the dealer
you purchased from, for a return merchandise authorization number and a full
refund will be promptly issued upon return. Thank you for choosing aquasana!
PLEASE NOTE:
For the first 72 hours this faucet will drip intermittently, until the filters
become fully saturated. Once they are saturated you should anticipate a
residual flow of water each time you use the filter, as the system is vented
and designed to clear the line.
IMPORTANT:
The aquasana AQ-4501 can only be used with a faucet supplied by Aquasana.
Any other faucet may cause damage to the filter system and/or leakage.
This unit can NOT be used in constant pressure applications,
such as ice-makers or fountains.
PRECAUTIONS:
• Read all instructions carefully
• No constant hydrostatic pressure line to filter allowed
• For technical assistance support call: 888.516.9752
Installation:
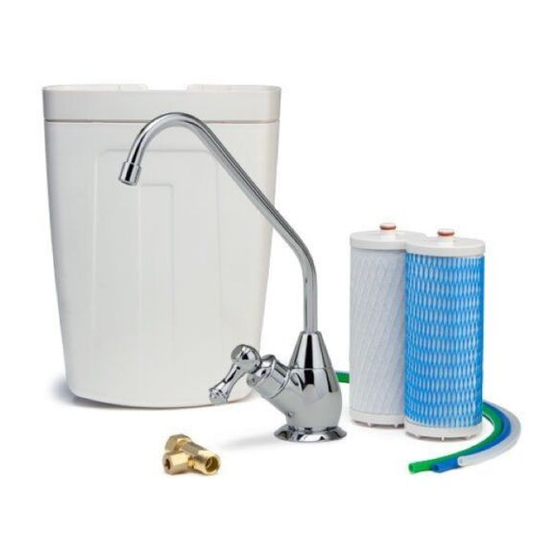
1. Unpack and unwrap contents.
• Open Relief Faucet
• Mounting Bracket
• Screws and Anchors
• 3/8" x ¼" Brass "T"
2. Mount the faucet. (Figure A)
3. Mount the filter. (Figure B)
Note: make sure that the location of the
filter unit allows the tubing from the faucet
to connect to the base of the filter without
kinking or side pressure; if the hose is not
able to plug straight into the inlet without
side pressure, it may drip.
4. Connect water supply. (Figure A)
Turn off your cold water supply valve and at-
tach the "T" fitting to the cold water supply.
Figure A
Brass
Brass
Plastic
Supply
Brass
"T"
Insert
Sleeve
Line
Nut
5. Once the filter and faucet are mounted and
the "T" fitting is attached to the cold water
supply line, proceed with the following steps:
•
Connect the hoses. (Figure A)
•
Turn the cold water supply line on; this
will open the supply to the faucet.
•
Check for leaks. If leaks are present, turn
off the supply valve and check all con-
nections.
•
Turn handle clockwise and allow the
water to run until all cloudiness and air
bubbles are gone.
Figure B
A
B
