- ページ 12
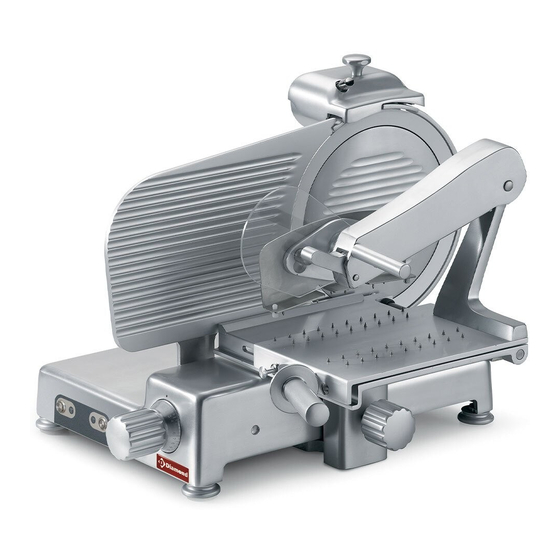
キッチン家電 Diamond 350/BSS-NのPDF 取扱説明書をオンラインで閲覧またはダウンロードできます。Diamond 350/BSS-N 16 ページ。

CHAP. 5 - MACHINE USE
5.1 - OPERATIONAL CHECK
For the 1° use follow these
instructions:
check that installation has been car-
-
ried out correctly as in chapter 2;
check that the hopper is well fastened
-
with the lock hand grip (Fig. n°36
ref.1);
check the sliding of the hopper and
-
that it is free of obstacles on the work
counter for all of its run (Fig. n°37
ref.a);
check that the goods pressing arm
-
easily rises and lowers so that it is not
impeded in all its movement (Fig. n°
37 ref.b);
check the opening of the thickness
-
gauge plane by making the numbered
hand grip turn clockwise and counter-
clockwise (Fig. n°38 ref.c);
check that the sharpener is well
-
fastened to the machine and that it is
easy to extract and free of obstacles
(Fig. n°39 ref.d).
Fig. n°36
1
a
Fig. n°37
c
Fig. n°38
d
Fig. n°39
20
5.2 - LOADING AND CUTTING THE PRODUCT
WARNING: The goods to be cut are loaded on the hopper only with the gradua-
ted hand grip at "0" and the motor stopped, being careful with the blade and the
points.
Adhere to the following procedure:
1. Lift the goods presser, load the go-
ods on the hopper, bringing it close to
the thickness gauge, block it with the-
proper toothed arm;
2. regulate the desired thickness of the
cut with the graduated hand grip;
3. assume a correct position to avoid
accident: place the right hand on the
goods presser hand grip and, then
b
the left hand next to the slice guard to
take the cut product (without tou-
ching the blade); the body must be-
perpendicular to the work plane (Fig.
n°40).
WARNING:
Do
not
positions which bring body parts in
direct contact with the blade (ex.
Fig. n°41);
4. then push the "ON" push-button;
5. push the carriage (hopper + goods
presser arm + stem) gently towards
the blade, without applying excessive
pressure on the goods with the goods
presser arm. The goods will easily
enter the blade, and the slice guided
by the proper sliceguard will detach
and fall on the plane (Fig. n°42);
6. avoid running the slicer when empty;
7. at the end of the cutting operation,
stop the machine by putting the
switch in the "OFF" position and put
the graduated hand grip at "0";
8. Carry out resharpening the blade as
soon as the cut product has a threaded
assume
21
Fig. n°40
Fig. n°41
Fig. n°42
