- ページ 4
屋外噴水 AquaScape AQUABASIN 30のPDF 使い方とメンテナンスをオンラインで閲覧またはダウンロードできます。AquaScape AQUABASIN 30 6 ページ。
AquaScape AQUABASIN 30 にも: 使い方とメンテナンス (12 ページ), 使い方とメンテナンス (12 ページ)

Installation
STEP 1
SELECT AND MARK OUT THE AREA
• Select a location for the installation. Avoid
selecting a location that is an unused area of
the property. We recommend locations near
decks or patios, so it is easy to sit and relax
next to the water feature. If possible, make the
feature visible from a regularly used window
or patio door to provide enjoyment from both
inside and outside (Ex. 1).
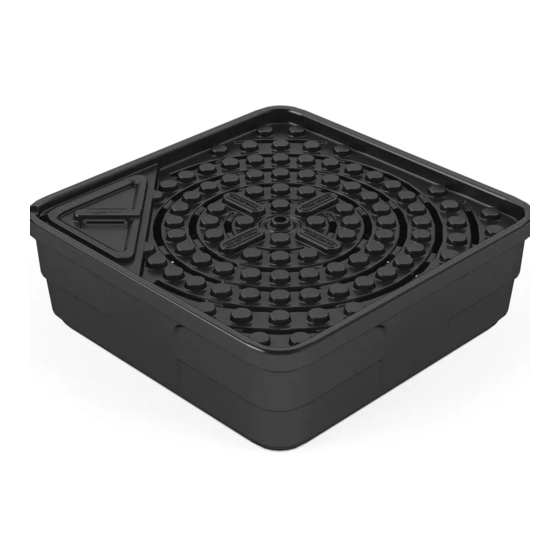
• Set the AquaBasin
Then, using a can of brightly colored spray
paint, trace around the basin to outline the
area that is to be excavated (Ex. 2).
STEP 2
EXCAVATE, LEVEL, AND BACKFILL
• Using the traced area as a guide, dig the hole
roughly one inch deeper than the AquaBasin
(Ex. 3). The additional depth will allow the
basin to sit flush with the ground once gravel
is added.
4
Ex. 1
in the desired location.
®
Ex. 2
Figure 3
Ex. 3
☎
US (866) 877-6637 |
• Use a soil tamper to properly compact the
soil. This will prevent any unnecessary settling
during or after installation.
• Place a level on the bottom of the excavation
to make sure it is level from side to side and
front to back. The base of the excavation
should be soil that is smooth, flat, and free of
lumps or debris. If existing soil conditions do
not meet these standards, add compactable
material such as sand to provide an
appropriate base for the basin.
• The AquaBasin provides the option of
installing the Aquascape Compact Water Fill
Valve (item #88006, not included) to automatically
add water to the feature when needed. If
installing a water fill valve, refer to page 6 for
installation instructions. Install the fill valve at
this time.
• Place the AquaBasin in the excavated hole
and use a level to make sure it is level from
side to side and front to back (Ex. 4).
• If the basin is not level, remove it and correct
the excavation until the AquaBasin sits level.
• Thoroughly backfill the sides with sand or dirt.
This helps prevent any future shifting of the
basin.
STEP 3
CONNECT
WATER
FEATURE
• The center
hole of the
AquaBasin is
pre-drilled for
single-fountain
applications.
When installing a single fountain in the
center of the basin, use the center hole to
run the plumbing (Ex. 5).
☎
CAN (866) 766-3426 | aquascapeinc.com
Ex. 4
Ex. 5
