- ページ 5
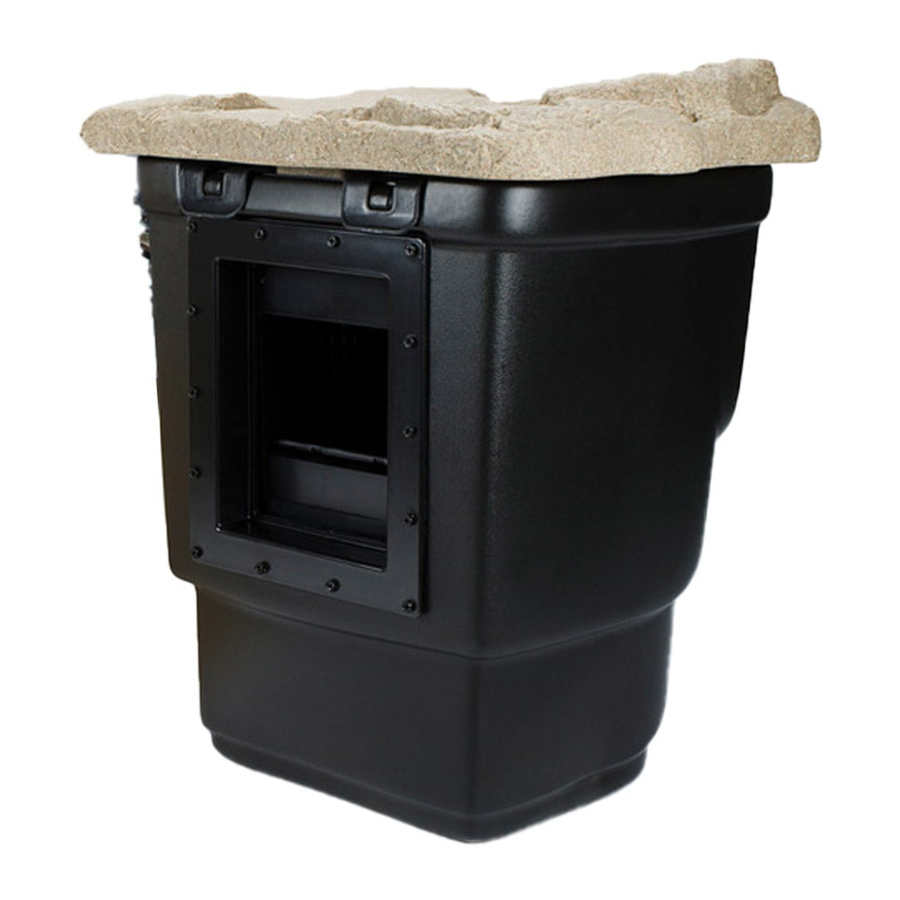
浄水器 AquaScape SIGNATURE 1000のPDF インストラクションとメンテナンスをオンラインで閲覧またはダウンロードできます。AquaScape SIGNATURE 1000 20 ページ。 Pond skimmer

• Use a 2-foot bubble level to make sure your skimmer is
properly set into position. Your skimmer should be level
from side to side and front to back (Ex. 7).
STEP 4
INSTALLING THE
SKIMMER
• For single pump
applications, the pump
plumbing line attaches into
one bulkhead and the
optional overflow or 2" plug
(if no overflow is desired)
can be attached to the
other (Ex. 8). Use the angle of the bulkheads to your
advantage by choosing the bulkhead that works best with
the direction you want to run your plumbing.
• For double pump
applications, each pump
will hook up to one of the
bulkheads. A third hole will
need to be drilled in the
back of the skimmer if you
want to add an overflow.
A drill point guide can be
found on the back of the
skimmer between the existing ports. Use a 3" hole saw
to drill the opening for another 2" bulkhead fitting (item
#29103 sold separately) (Ex. 9).
• Install a PVC slip fitting into each bulkhead on the outside
of the skimmer to receive the pump plumbing and
overflow plumbing.
NOTE: Use silicone sealant (#22010) or (#29186) or Teflon
tape (not included) to coat the threads of the fittings,
providing a watertight seal.
ATTACHING THE SKIMMER EXTERIOR LINER PLATE
NOTE: Power tools are not recommended for installing the
screws and may strip the threaded nut inserts.
• Thread the two included liner instal lation tools into the
upper left and right corners of the interior weir plate
☎
aquascapeinc.com |
CAN (866) 766-3426 |
assembly. Make sure the
interior weir plate assembly
is oriented with three screw
inserts across the top and
four screw inserts across
the bottom (Ex. 10).
• Then install the interior weir
plate assembly into the
inside of the skimmer,
guiding the two liner
installation tools through
the top left and right screw
holes of the skimmer
Ex. 7
(Ex. 11). The liner
installation tools will hold
the interior weir plate
assembly in position during
the remaining liner
installation steps.
• Once the interior weir plate
assembly is in position,
apply a thick bead of
fish-safe silicone
sealant (#22010) or
(#29186) around the
Ex. 8
skimmer opening over the
nut inserts as pictured
(Ex. 12). This will help to
create a watertight seal.
• Wipe the section of liner that is to be connected to the
skimmer free of any dust or debris. Bring the liner up
toward the face the skimmer. Do not press the liner up
against the silicone or skimmer opening at this time.
Make sure the liner does not have any wrinkles when
positioning it in front of the skimmer. Also make sure you
have some excess liner below the skimmer opening to
eliminate any tension on the skimmer exterior liner plate
Ex. 9
when setting boulders near the filter.
• Once the liner is in the
proper position, puncture
the liner over each of the
top two liner installation
tools, allowing the liner to
hang in place (Ex. 13). Do
not press the liner against
the silicone or skimmer
opening at this time.
• Now slide the exterior liner plate over the top two liner
installation tools and press the exterior liner plate and liner
against the silicone and skimmer opening.
IMPORTANT: Make sure the exterior liner plate is installed with
three holes at the top and four at the bottom.
☎
US (866) 877-6637
Top
Ex. 10
Bottom
Ex. 11
Ex. 12
Ex. 13
5
