- ページ 11

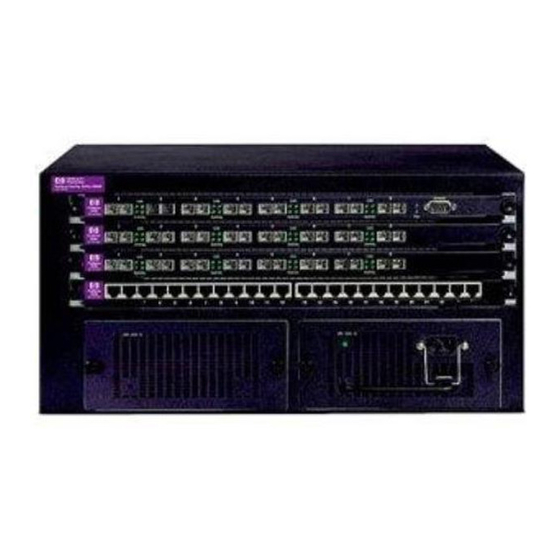
スイッチ HP ProCurve 1600MのPDF インストレーション・マニュアルをオンラインで閲覧またはダウンロードできます。HP ProCurve 1600M 36 ページ。 Redundant power supply
HP ProCurve 1600M にも: 仕様書 (12 ページ), リード・ミー・ファースト (8 ページ), レビュアーズ・マニュアル (27 ページ), 補足マニュアル (2 ページ), 補足マニュアル (2 ページ), インストレーション・マニュアル (28 ページ), インストレーション・マニュアル (28 ページ), クイック・セットアップ・マニュアル (2 ページ), クイック・セットアップ・マニュアル (4 ページ), ユーザーマニュアル (8 ページ), マニュアルの補足 (28 ページ), リード・ミー・ファースト (16 ページ), 取り付けと取り外し (2 ページ), インストレーション・マニュアル (12 ページ), 計画・実施マニュアル (40 ページ), 使用済み製品の分解手順 (2 ページ), インストレーション・マニュアル (46 ページ), 診断マニュアル (2 ページ), 分解手順 (2 ページ)

HP ProCurve 1600M インストレーション・マニュアル
Installation Precautions:
Static electricity can severely damage the electronic components on the modules. When
handling and installing the modules in your switch, follow these procedures to avoid damage
from static electricity:
Handle the module by its bulkhead or edges and avoid touching the components and the
circuitry on the board.
When installing the module, equalize any static charge difference between your body and
the switch by wearing a grounding wrist strap and attaching it to the switch's metal body,
or by frequently touching the switch's metal body.
The HP Procurve Switch GL Modules have "low-force", high-performance connectors.
High insertion forces are not necessary to install the modules, and should not be
used.
Make sure that you fully insert the modules. That is, press the module into the slot until
the bulkhead on the module is contacting or is very close to contacting the front face of the
switch chassis.
Once the module is fully inserted, make sure that you screw in the two retaining screws to
secure the module in place.
For safe operation, proper switch cooling, and reduction of electromagnetic emissions, ensure
that a slot cover is installed on any unused module slot. For safety, no more than one slot should
be uncovered at a time when the switch is powered on.

Installing the Module in an Unused Slot

Installation Procedures:
1.
Use a Torx T-10 or flat-bladed screwdriver to unscrew the screws in the
cover plate over the slot you want to use, and remove the cover. Store the
cover plate for possible future use.
2.
Hold the module by its bulkhead—taking care not to touch the metal
connectors or components on the board.
3.
As shown in the illustrations on the next page, insert the module into the
slot guides and slide it into the slot until it stops. Then press near the two
screws on the module bulkhead to seat the module connector into the
switch backplane. The module bulkhead should be in contact with or very
close to contact with the back face of the switch.
Note: The HP Procurve Switch GL Modules have "low-force", high-
performance connectors. High insertion forces are not necessary
to install the modules and should not be used.
Installing the GL Modules
5