- ページ 6
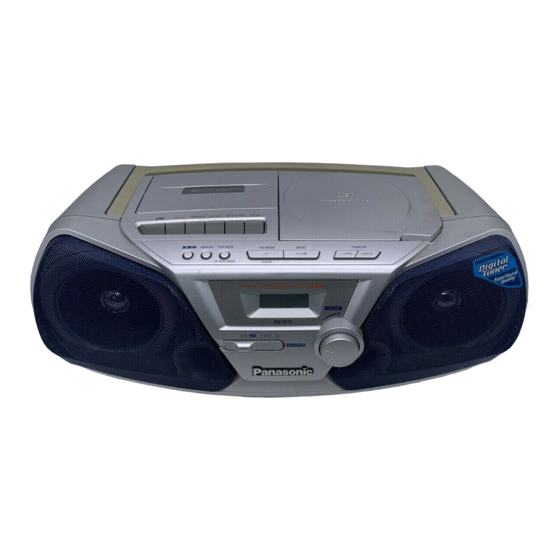
ステレオシステム Panasonic RXD11 - RADIO CASSETTE W/CDのPDF 取扱説明書をオンラインで閲覧またはダウンロードできます。Panasonic RXD11 - RADIO CASSETTE W/CD 16 ページ。 Panasonic porrtable stereo cd system operating instructions
Panasonic RXD11 - RADIO CASSETTE W/CD にも: 取扱説明書 (8 ページ), 取扱説明書 (9 ページ)

A
10
20
11
21
B
1
2
C
Remote control signal sensor
About 7 meters in front
of the signal sensor.
D
6
RQT5210
22
23
24
MEMORY/
PGM
25
26
27
R03/LR03, AAA, UM-4
R03/LR03, AAA, UM-4
30
30
Transmission
window
PHONES
Location of controls
Remote control (RX-D11 only)
Buttons ! and " have the same functions as the corresponding
buttons on the main unit.
A
Number
Designation
, Auto scan button (AUTO SCAN) ................................. 9
- CD play mode select button (CD PLAY MODE) ....... 10
. Band select button (BAND) ......................................... 7
/ FM mode select button (FM MODE) ........................... 9
: Preset channel select/preset scan buttons
(3 3 3 3 3 PRESET TUNE 4 4 4 4 4 ) .............................................. 7, 8
; Manual tuning/CD skip, search buttons
g , f
g
g
f
f
f /
+
g
f
(–/g
) ....................................................... 7, 10
< CD play/pause button (-/J) ...................................... 10
= CD stop/program clear button (L/CLEAR) ......... 10, 11
Concerning the remote control
RX-D11 only
Battery (not included) installation and
removal
1 Open the battery cover. (Push the cover in the direction of the
" : " mark, then lift.)
2 Insert the batteries in the correct polarities (e, d).
Remove the batteries by pulling the positive side of the battery up.
Correct method of use
Operation notes
•
Do not place obstacles between the remote control signal sensor
and remote control unit.
•
Do not expose the remote control signal sensor to direct sunlight
or to the bright light of a fluorescent light.
•
Take care to keep the remote control signal sensor and end of the
remote control unit free from dust.
To prevent damage
•
Never place heavy items on it.
•
Do not disassemble or reconstruct it.
•
Do not spill water or other liquids into it.
To listen through headphones (not
included)
D
Turn down the volume and connect the headphones to
the [PHONES] jack.
Plug type: 3.5 mm stereo
Note
Avoid listening for prolonged periods of time to prevent hearing damage.
Reference page
B
C
