- ページ 7
芝生とガーデン用品 EasyPro PA50のPDF インストレーション - オペレーティング・メンテナンスをオンラインで閲覧またはダウンロードできます。EasyPro PA50 8 ページ。 Windmill aeration systems
EasyPro PA50 にも: インストール、オペレーション、メンテナンスマニュアル (8 ページ)

PA75 and PA100 Packing List:
Description
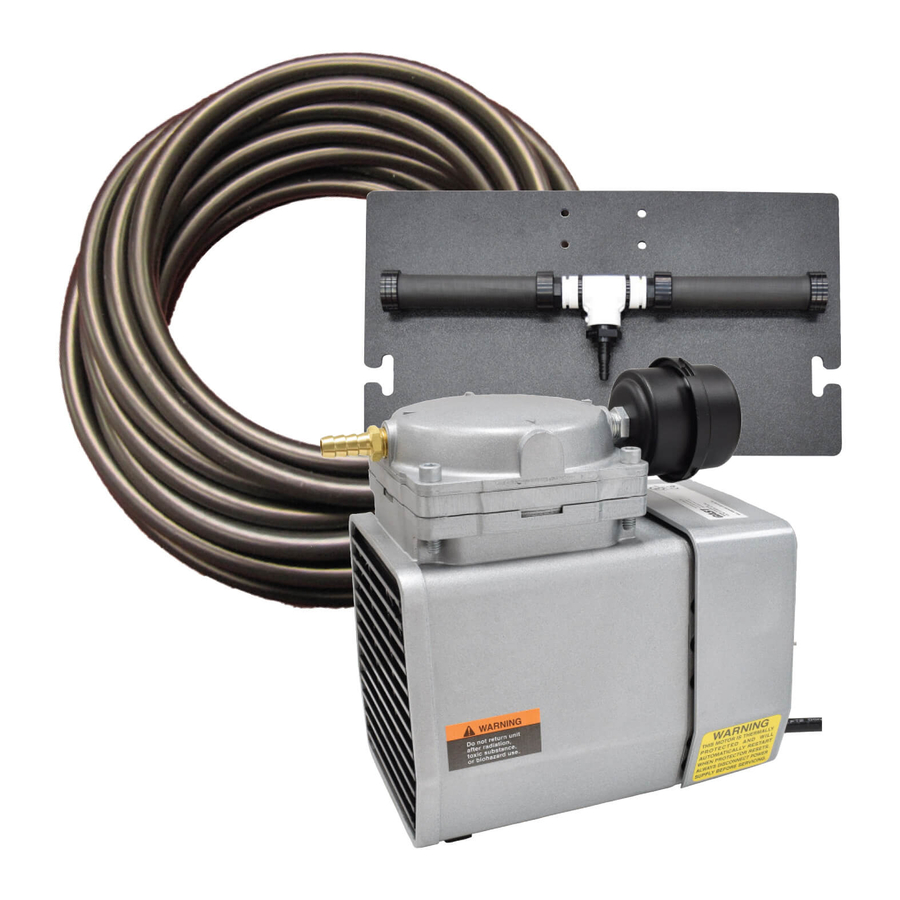
Air Compressor w/filter
Valve Assembly
Membrane Diffusers
Tubing Clamps
200' Roll Tubing
_____' Additional Tubing
Packed By:
Windmill Aeration System ...
if you are using self-weighted tubing.
A 20' piece of black plastic hose is included with your
windmill. This tubing connects to the outlet on the com-
pressor at the top of the windmill and runs down the tower
to the ground. A connector is included to connect to the
100' roll of tubing at this point.
After installing the manifold in the pond, connect the other
end of the vinyl tubing to the end of the black tube coming off the windmill.
PA75 Qty. PA100 Qty.
1
1
4
8
4
Date:
The windmill pond aerator is an excellent alternative
to electric pond aerators. The windmill has a com-
plete set of instructions included with it. Please fol-
low these instructions to assemble the windmill head
and tower. We supply the air hose and air diffuser for
this windmill kit.
Note: A check valve is included with the windmill to
go in the airline underwater by the air diffuser. Our air
diffuser includes a built-in check valve so you will not
need the one included with the windmill.
When you get to page 5 in the instruction book,
please follow these instructions for the diffuser
installation:
Fill base of air diffuser with sand or gravel. Screw
membrane diffuser into top of base. Attach end of
tubing to outlet and clamp. Unroll the tubing com-
pletely before attempting to install the diffuser as-
sembly in your pond.
Tubing needs to be weighted to sink. Usually a three
to five pound weight every six to eight feet is ade-
quate. Weights can be landscape bricks, rerod, etc.,
and should be strapped
tightly to the tubing with
electric ties. Omit this step
7
Packed
1
1
5
10
5
# of Boxes:
