- ページ 4
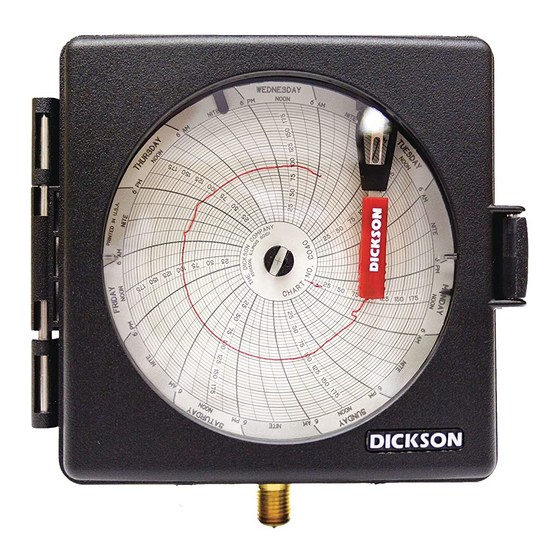
計測機器 Dickson PW4のPDF ユーザーマニュアルをオンラインで閲覧またはダウンロードできます。Dickson PW4 5 ページ。 Pressure chart recorders
Dickson PW4 にも: ユーザーマニュアル&製品マニュアル (2 ページ), マニュアル (9 ページ), マニュアル (9 ページ)

Calibration Services - New Units
•
•
The Importance and Benefits of Regular Calibrations
Once you begin to use your precision Dickson instrumentation, regular calibrations are necessary to ensure
accurate readings.
The following Calibration Services are available:
•
•
Why should I recalibrate my instrumentation?
Over time dirt, dust and normal handling can throw your precision instrumentation out of calibration. Regu-
lar calibrations ensure that you receive the most accurate readings possible.
How often should I recalibrate my instrumentation?
Depending on the environment your instrument is used in and how often it is handled you will want to
recalibrate your instrument every 6 to 12 months. Instruments in environments where there are extreme tem-
peratures, wide temperature ranges, humidity or pressure variations, high condensation, dirt, dust and other
debris will require calibration at least every 6 months. Instruments that are frequently moved or in locations
with heavy machinery that cause vibrations should also be calibrated at least every 6 months.
Why should I return my instrument to Dickson for calibration?
Dickson calibrates your instrument at the factory using proprietary production/calibration software that
guarantees proper calibration.
Our Capabilities
Dickson is the first manufacturer of humidity and temperature instrumentation to
tion. We are also NIST Traceable; our procedures conform to MIS-STD-45662A, ANSI/NCSL 2540-1-1994,
ISO/IEC Guide 25 and ISO10012. We are experts in the manufacture and calibration of humidity and tem-
perature instruments.
Calibration
Periodically check accuracy with a test gauge. If pen adjustment is required, use the adjusting screw located
inside the door on the upper left corner of the dial plate. Check two points on the scale when adjusting the
pen to make sure recorder calibration is maintained.
Note: When no signal (no pressure) is being applied to the recorder, the pen may not rest exactly on the
zero chart line. It is possible for the allowable 2% of scale error to occur at zero, while upscale readings are
increasingly more accurate.
nd Quality Products Online at:
N100 - NIST Traceable Calibration 1-Point: Includes documentation to one Dickson pre-selected
point on new units only.
N300 - NIST Traceable Calibration 3-Point: Includes documentation of three Dickson pre-
selected points (a high, medium, and low) on new units only.
N150 - NIST Traceable Calibration 1-Point: Includes documentation to one Dickson pre-selected
point after re-calibration.
N350 - NIST Traceable Calibration 3-Point: Includes documentation of three Dickson pre-
selected points (a high, medium, and low) after re-calibration.
Fast Service: Our turnaround time is 3 days or less so you receive not only expert service but fast
service as well.
Easy: We make it easy for you! No phone calls for Return Authorization Numbers are required. We
remind you when your instrument is due for calibration. You simply send in the completed Calibration
Order Form with your unit for calibration with freight prepaid to Dickson.
GlobalTestSupply
www.
receive A2LA accredita-
.com
