- ページ 2
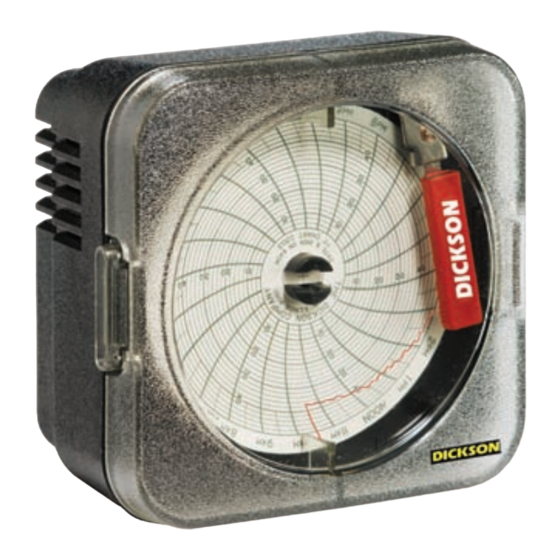
計測機器 Dickson SC3 SeriesのPDF ユーザーマニュアル&製品マニュアルをオンラインで閲覧またはダウンロードできます。Dickson SC3 Series 2 ページ。 3” (78mm) temperature chart recorder
Dickson SC3 Series にも: マニュアル (9 ページ), はじめに (2 ページ)

GETTING STARTED
IMPORTANT
Dickson Chart Recorder accuracy specifications are only valid with the use of authentic Dickson brand
charts and pens. The specifications for chart printing, die cutting and paper absorption rates, and the
complementary bleed rate specifications of pens are critical factors in determining system accuracy.
TO BEGIN OPERATION
This recorder comes with 1 AA battery installed.
1. Set chart rotation: the switch is located in the battery compartment. Unscrew the battery door. Make
sure the switch is set to the correct chart rotation speed.
2. Replace the chart paper
3. Set time by inserting a coin into the chart hub and turning it clockwise until the current hour is
referenced to the time indicator (time indicator is directly to the right and below the pen tip.
4. Remove protective pen cap
BATTERY REPLACEMENT
• The battery compartment is located on the back of the unit
• The recorder uses a standard AA battery for up to two years of battery life
• Insert new battery with positive end up
CHART NOT ROTATING
1. Make sure the chart paper is not ripped in the center around the Chart Hub
2. Make sure the chart is not hung up or restricted
3. Make sure there is a good battery being used and it is installed correctly
FACTORY SERVICE & RETURNS
Contact Customer Service at 630.543.3747 for a Return Authorization Number (RA) before returning any
instrument. Please have the model and serial numbers and PO ready before calling.
Note: Dickson shall not be liable for consequential or incidental damages resulting from failure or
malfunction of its products.
CHART REPLACEMENT
1.
Flip pen arm up and away from chart. Slip your finger under the chart and lift the chart off the chart hub
2.
Put one new chart on the recorder
3.
Make sure the center of the chart, between chart hub, is not torn
4.
Set the time by inserting a coin in chart hub and turning clockwise until the current hour is referenced by the
time indicator
5.
Flip pen arm down
PEN REPLACEMENT
SLIDE OFF
PEN CARTRIDGE
PEN ARM
SLIDE ON
PEN TIP
SLOT
PEN ARM
PEN ARM
CHART
PEN
TIME INDICATOR
CHART HUB
1.
Flip pen arm up
2.
Slide used pen cartridge off pen arm
3.
Slide new pen cartridge on pen arm
4.
Make sure end of pen arm comes into contact
with pen tip
5.
Remove pen cap
6.
Flip pen arm down
