- ページ 4
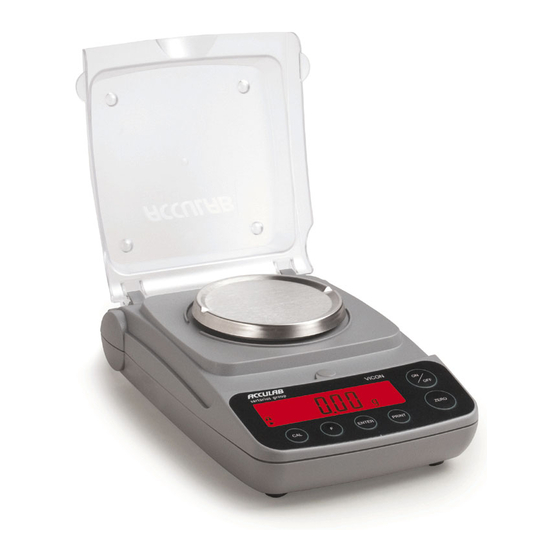
体重計 Acculab ACCULAB VICON VIC-303のPDF 取扱説明書をオンラインで閲覧またはダウンロードできます。Acculab ACCULAB VICON VIC-303 16 ページ。 Electronic precision scales

Connecting the
Balance/Scale to AC Power
§ It is recommended to use only the
included AC adapter for optimal
performance and safety.
§ Insert plug into the jack
(located on back of scale)
§ Plug the AC adapter into an electrical
outlet
LISTED power supply 11 V–21 V
!
compliant with NEC Class 2 output.
Below-Balance/Scale
Weighing
A port for a below-balance weighing
hanger is located on the bottom of
the balance/scale.
§ Open the cover plate on the bottom
of the balance/scale.
§ Attach the sample (e.g., using a sus-
pension wire) to the hanger.
$ Install a shield for protection against
drafts if necessary.
4
Installing the Battery
(not for models VIC-303, VIC-123,
VIC-4MG, VIC-2MG)
$ Batteries are not included with the
equipment supplied
Use only commercially available 9V
!
batteries.
If you use a rechargeable battery,
!
recharge it with an external battery
charger.
§ Lay the balance/scale on its side
§ Open the battery compartment:
remove the compartment cover
§ Install the battery in the compart-
ment
$ Make sure the polarity is correct.
Close the battery compartment: slide
!
the cover into position until it snaps
into place
Do not throw away used batteries
!
with normal household waste.
Rechargeable batteries contain toxic
materials and must be disposed of in
accordance with local waste disposal
regulations.
Leveling the Balance/Scale
(only for models VIC-303,
VIC-123, VIC-4MG, VIC-2MG)
§ Always level the balance/scale
again any time after it has been
moved to a different location.
Example: moving bubble from R to L
§ Turn the feet as shown in the dia-
gram until the air bubble is centered
within the circle of the level indicator.
> In most cases this will require several
adjustment steps.
Removing Weights for
Calibration/Span Adjustment
(only for models VIC-612, VIC-212,
VIC-711, VIC-511, VIC-303,
VIC-123, VIC-4MG, VIC-2MG)
§ Grasp the tab to turn and remove
the weight compartment.
$ Follow instructions on page 12 for
calibration/span adjustment.
