- ページ 5
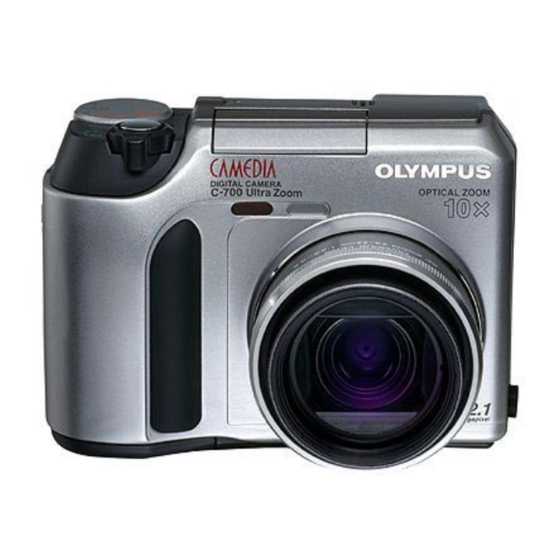
デジタルカメラ Olympus C-700 - CAMEDIA Ultra ZoomのPDF ポケットマニュアルをオンラインで閲覧またはダウンロードできます。Olympus C-700 - CAMEDIA Ultra Zoom 17 ページ。 Olympus camedia c-700 ultra zoom: quick start
Olympus C-700 - CAMEDIA Ultra Zoom にも: ポケットマニュアル (2 ページ)

2. With the CAMERA tab highlighted, press the down arrow
to highlight the SETUP tab, then press the right arrow to
activate the menu.
3. Press the up or down arrow on the arrow pad to highlight
SHORT CUT, then press the right arrow to display the three
shortcuts A (top shortcut), B (left shortcut), and C (bottom
shortcut). Next to each is the currently assigned shortcut.
4. Press the up or down arrow on the arrow pad to highlight
the shortcut you want to change and press the right arrow
to display the functions you can assign.
5. Press the up or down arrow on the arrow pad to highlight
the command you want to use as a shortcut and press OK/
Menu once to confirm your choice, then again to hide the
menu.
U
Q
SING
In any shooting mode, press the Monitor button twice quickly to
display the last picture you took. You can then use any of the
procedures described in the QuickSteps box "Reviewing and
Managing Images." To return to shooting, press the shutter
button halfway down.
R
EVIEWING AND
To display the last photo you took, set the Mode Dial to
playback mode (the green arrowhead in a box) or press OK/
Menu twice quickly while in shooting mode (this is called
"Quick View"). Minimal information about the photo is
displayed for five seconds. (To display more information
about the images, see page 15.)
To scroll through images, press the right or left arrow on
the arrow pad to move forward and backward an image at a
time, or press the up and down arrow to jump forward or
back 10 images.
To zoom the image, press the zoom lever toward the "T."
Each time you press it, the image zooms a little more—1.5x,
2.0x, 2.5x, and 3x. To scroll around a zoomed image, press the
arrows on the arrow pad. To cancel zoom so you can scroll to
other images, press the zoom lever toward the "W." You
cannot zoom an image that has a movie icon on it.
To display an index of 9 images so you can locate or
S
C
://
HORT
OURSES HTTP
9
V
UICK
IEW
M
I
ANAGING
MAGES
.
.
WWW
SHORTCOURSES
COM
10
compare images, press the zoom lever toward the "W." To
move the selection box an image at a time, press the left or
right arrow on the arrow pad. To move a page at a time, press
the up or down arrow. To enlarge a selected index image,
press the zoom lever toward the "T." (To change the number
of images displayed to 4 or 16 see page 103.)
To erase the image, press the Drive/Erase button to the
right of the viewfinder. (The button is labeled with a red trash
can icon.) Pressing the Drive/Erase button displays a message
asking you to confirm the erasure and the NO choice is
highlighted. Press the up arrow on the arrow pad to highlight
YES, then press OK/Menu to confirm the erasure. (To erase all
images more quickly with a single command, see page 15.)
To rotate the image, press AEL/Custom/Rotate one or
more times.
To protect the image so it can't be erased (or rotated), press
the Flash/Protect button. A protected image is marked with a
green key icon. Press the same button again to unprotect the
image. One useful technique is to protect just those images
you want to save and then use the All Erase command (page
15), to erase all of the other images.
To play back movies, see page 99.
E
A
RASING
1. With the Mode dial set to playback (the green arrowhead in
a box icon), press OK/Menu to display the top menu, then
press the right arrow on the arrow pad to display the Mode
menu.
2. With the PLAY tab highlighted, press the down arrow to
highlight the CARD tab, then press the right arrow to
activate the menu.
3. With CARD SETUP highlighted, press the right arrow to
display the choices.
4. With ALL ERASE highlighted press OK/Menu to display a
YES NO confirmation prompt with NO highlighted.
5. Press the up arrow on the arrow pad to highlight YES, then
press OK/Menu to erase all of the images.
G
S
IVING A
1. With the Mode Dial set to playback (the green arrowhead
© C
2001
OPYRIGHT
BY
I
LL
MAGES
S
LIDE
HOW
D
P. C
ENNIS
URTIN
