- ページ 30
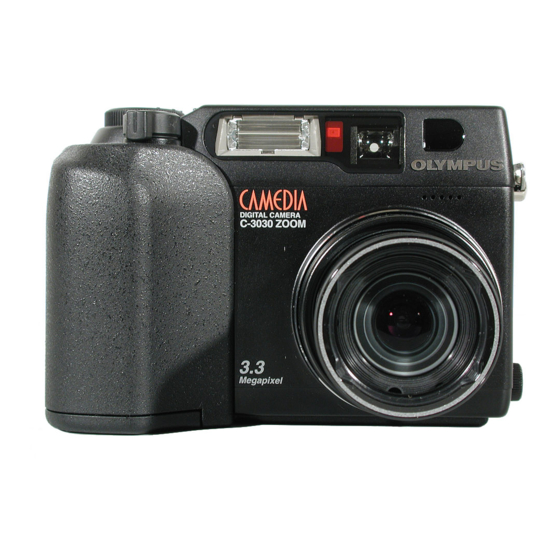
デジタルカメラ Olympus Camedia C-2500LのPDF 追加機能をオンラインで閲覧またはダウンロードできます。Olympus Camedia C-2500L 33 ページ。 External flash or strobes not firing with olympus cameras
Olympus Camedia C-2500L にも: パンフレット&スペック (9 ページ), パンフレット&スペック (2 ページ), トラブルシューティング (3 ページ)
Preprint Setup
You can store information such as the number of copies to print out on either SmartMedia or a CompactFlash. This procedure is
called "preprint setup".
Preprint setup is only effective for prints made at stores that can print out using DPOF-ready printers and DPOF systems.
1
4
Preprint mark The number
[SM]
Preprinting of All Images
2
E-58
Setting the Number of Copies to Print Out
2
This procedure stores the number of copies to print out via a printer, etc.
The actual printing is done by simply loading the card media into a print-
er. The images will be printed out in the specified number of copies.
1
Set the mode dial to
2
Select images to set preprint with the jog dial.
3
Press the [
The window where you specify the number of copies will appear on
the LCD monitor.
4
Specify the number of copies with the right / left point of the jog
dial.
5
Press the [OK] button.
The green mark will appear when the number is one, and the red
~2
SHQ
mark and the specified number when the number is more than one,
in the upper right-hand corner of the image as it is displayed on the
LCD monitor.
MEMO
• To cancel preprint setup, select "0" after displaying images to cancel,
or select "CLEAR ALL" from the menu.
2
Preprinting of All Images
1
The below procedure explains how to set up all images on the media
selected at preprinting.
1
Set the mode dial to
2
Press the [
The first menu will appear on the LCD monitor.
3
Align the cursor with
dial.
4
Select [SELECT ALL] with the right point of the jog dial.
5
Press the [OK] button.
MEMO
• To cancel the preprint of all images, select "CLEAR ALL" under
and press the [OK] button.
.
/
] button.
.
] button.
with the top / bottom point of the jog