- ページ 25
顕微鏡 Olympus CH10のPDF 修理マニュアルをオンラインで閲覧またはダウンロードできます。Olympus CH10 31 ページ。 Biological microscope
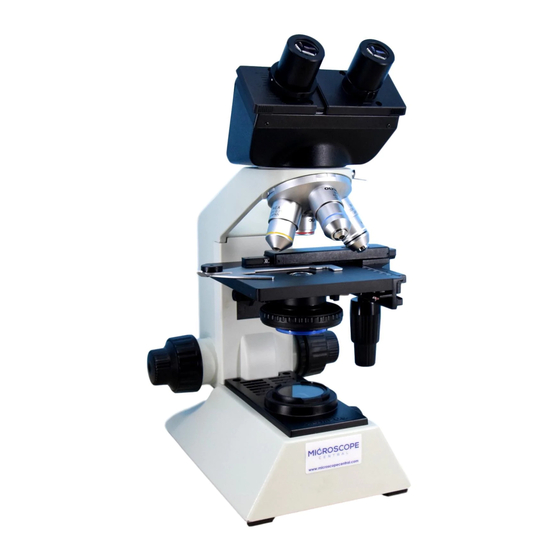
CH10/CH20
1. Centering of Optical System and Voltage Adjustment
1-1 Optical axis adjustment of revolving nosepiece
Revolving
nosepiece
spring
(AD1905)
1-2 Illumination center adjustment
Figure-1
1-3 Condenser center adjustment
D. REPAIR PROCEDURE
Standard eyepiece (KN0048; with adapter-1)
Standard tube (BKN0003)
Standard objective
(KN0015)
Screw (AD2472)
CH20 frame
Figure-2
Centering telescope
(KN0029)
Screw
(AB3X8SA)
ž Set the jigs as shown in the left figure.
ž Turn on the power of the microscope
frame, loosen two SCREWS ‚, and
adjust the position of the REVOLVING
NOSEPIECE SPRING • to meet the
standard.
Standard
ž Turn the KNOB • of condenser counter-
clockwise, and remove the condenser by
moving it downwards with the ADJUST-
MENT KNOB ‚. Figure-1
ž Turn on the power of the frame.
ž Look through the collector lens from the
hole for mounting the objective.
ž Make sure that the brightest filament seen
through the collector lens is in the center of
the hole for mounting the objective. Figure-
2 (When it is displaced, adjust the position of
the lamp holder.)
ž Set the jig as shown in the left figure.
ž Focus on the collector lens with the centering
telescope (KN0029).
ž Loosen the three screws (AB3X8SA) securing the
stage, and adjust the position of the stage so that
the contour of the collector lens can meet the
standard.
Standard
D-1
Within 3 graduations
Within 20%