- ページ 16
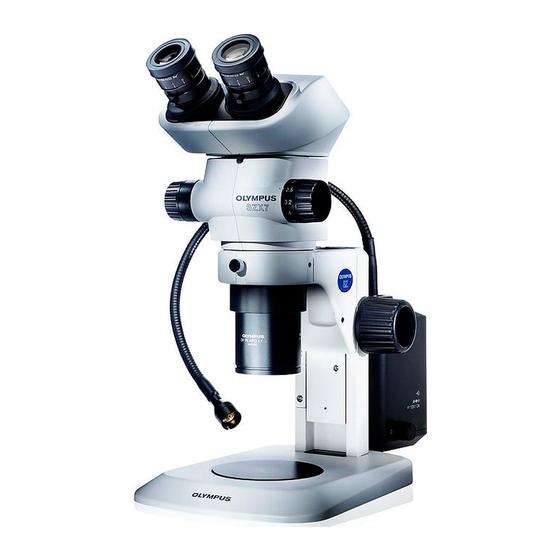
顕微鏡 Olympus SZX7のPDF 取扱説明書をオンラインで閲覧またはダウンロードできます。Olympus SZX7 32 ページ。 Stereomicroscope system
Olympus SZX7 にも: 取扱説明書 (32 ページ)

TROUBLESHOOTING GUIDE
Under certain conditions, performance of the microscope may be adversely affected by factors other than defects. If
problems occur, please review the following list and take remedial action as needed. If you cannot solve the problem after
checking the entire list, please contact Olympus.
Problem
1. The left and right fields of view do
not coincide.
2. The edge of the field of view is ob-
scured or not evenly illuminated.
3. Dirt or dust is visible in the field of
view.
4. Details of observed image are
solid.
5. Visibility of observed image is poor.
· Image is not sharp.
· Contrast is poor.
6. Zooming causes defocusing of the
observed image.
7. The focus adjustment knob does
not rotate smoothly.
8. The microscope body drops spon-
taneously, causing the focusing to
be deviated during observation.
13
Cause
Interpupillary distance is adjusted
improperly.
The parallax is not corrected.
The left and right eyepieces are
different.
The aperture iris diaphragm is stopped
down (when the SZX-AS is used).
The binocular tube and/or intermedi-
ate attachment are installed improp-
erly.
The light path selector knob is in an
intermediate position. (SZX-TR30)
Dirt/dust on specimen.
Dirt/dust on eyepieces
The aperture iris diaphragm is stopped
down (when the SZX-AS is used).
The objective is tilted.
The objective is dirty.
The top and/or bottom lenses of the
microscope body are dirty.
The bottom lens of the observation
tube is dirty.
The eyepiece diopter is adjusted
improperly.
The focus adjustment is inaccurate.
The rotation tension of the knob is set
too high.
The rotation tension of the knob is set
too low.
Remedy
Adjust it correctly.
Adjust it correctly.
Use eyepieces with the same magni-
fications for the left and right by re-
placing one of them.
Open the aperture iris diaphragm.
Install them properly.
Set it properly.
Clean thoroughly.
Open the aperture iris diaphragm.
Screw it in correctly until it stops.
Clean thoroughly.
Adjust it correctly.
Adjust the focus accurately.
Decrease the rotation tension to an
optimum level.
Increase the rotation tension to an
optimum level.
Page
6
7
3
20
17
9
2
20
17
2
7
7
6
6
