- ページ 32
顕微鏡 Olympus U-FHのPDF 取扱説明書をオンラインで閲覧またはダウンロードできます。Olympus U-FH 36 ページ。 Motorized illumination system with motorized focusing unit
4
5
28
@
Fig. 25
@
²
Fig. 26
@
3
6
²
Fig. 27
6
Attaching the Motorized Revolving Nosepiece
1. Loosen the revolving nosepiece clamping screw 1 using the Allen screw-
driver.
2. Align and fit the mount dovetail of the motorized revolving nosepiece
with the mount dovetail groove on the illuminator.
3. Push the revolving nosepiece all the way in until the connectors are
connected.
4. Tighten the revolving nosepiece clamping screw 1.
8
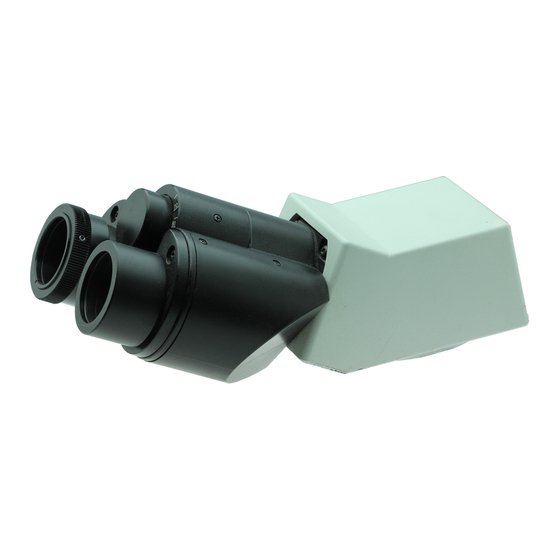
Attaching the Eyepiece
Fit the eyepiece into each sleeve as far as it goes.
# When using the U-BI30-2 binocular tube, eyepiece with built-in
micrometer disk cannot be attached.
# When using a finder eyepiece or an eyepiece with micrometer disk,
insert into the right eyepiece sleeve.
Insert the eyepiece so that its positioning pin @ fits into the groove
² at the bottom of the eyepiece sleeve.
# The super-widefield trinocular observation tube is equipped with a
positioning notch on both eyepiece sleeves. Make sure that the
positioning pins on both eyepieces fits into the respective notches.
Attaching the Autofocusing Unit U-AFA1M (Fig. 27)
}Using the Allen screwdriver, remove a total of 4 AF support bracket
clamping screws 1 and 2 from the illuminator.
1. Attach one of the provided AF support bracket 3 and tighten temporarily
the two of the clamping screws 1.
2. Attach the U-AFA1M AF unit 4 on the illuminator and tighten temporarily
the observation tube clamping screw 5.
3. Attach the other AF support bracket 6 and tighten firmly the other two
clamping screws 2.
4. Apply the AF unit 4 against the AF support bracket 6 and tighten firmly
the clamping screw 5.
5. Apply the AF support bracket 3 against the AF unit 4 and tighten firmly
the clamping screws 1.
(Fig. 25)
(Fig. 26)