医療機器 Olympus VISERA ELITE IIのPDF クイック・リファレンス・マニュアルをオンラインで閲覧またはダウンロードできます。Olympus VISERA ELITE II 4 ページ。
Olympus VISERA ELITE II にも: クイック・リファレンス・マニュアル (4 ページ)
Quick Reference Guide to Near Infra-red Imaging with VISERA ELITE II
Disclaimer: Information provided in this guide is not exhaustive. Please refer to the complete Instructions For Use for each
item of equipment which should be thoroughly read and understood prior to handling, use and storage of the equipment.
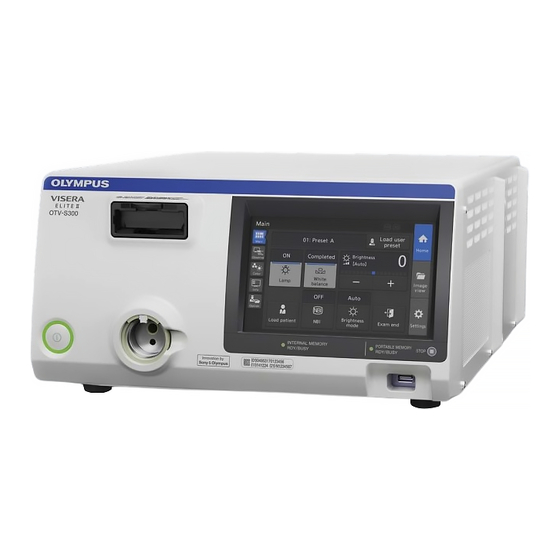
Switch On
Switch on the camera system using the workstation master
switch which will then turn from white to green.
There is a secondary power switch on the transformer
under the workstation. This should remain switched on.
Issue 1
05/02/2021
Camera Head
Insert a NIR compatible camera head (CH-S200-XZ-EB
or CH-S200-XZ-EA) into the camera processor, ensuring
the connector is the correct way up.
UP mark
Video connector
Electrical contacts
Video connector socket
UP mark
Video connector
The colour bars on the monitor will now be replaced with
an image from the camera head.
Light Source
Remove any light guide cable or ENDOEYE from the output
socket of the processor.
Video connector socket
Output socket
Insert the light guide cable into the separate NIR light
source until it clicks.
Output socket
Warning: When turning ON the light source, never allow
the distal end of an endoscope or a light guide cable to
come into contact with the patient and/or other flammable
materials, such as operating room drapes. Patient injury
and/or a fire can result.
KMF-08928
NCDR 02866
OTV