- ページ 11
ラボラトリー機器 Olympus ARROW POINTERのPDF 取扱説明書をオンラインで閲覧またはダウンロードできます。Olympus ARROW POINTER 20 ページ。 Arrow pointer
2-3 Notes on Photomicrography
In general, the procedure for taking photographs is the same as usual. This section describes special considerations that
apply when taking photographs with the arrow pointer installed.
1. Using the trinocular observation tube on top of the microscope, you can take photographs that include the pointer.
# When you use genuine Olympus trinocular observation tubes, photo eyepiece and photomicrographic equip-
ment, the pointer (
) is always focused on the film plane.
2. Brightness of the pointer is set to be brighter than the specimen to ensure adequate contrast. This has the following
effects on photographs that are not apparent during visual observation.
· Since the pointer is always overexposed when exposure is correct for specimen, the pointer color will bleach to white in
color photographs.
· When taking photographs with photomicrographic equipment with automatic exposure control, the brightness of the
pointer will cause the specimen to be underexposed. In such cases, set the photomicrographic equipment's specimen
distribution compensation dial to the OVER position.
· Since the effect of the pointer is especially great when making long exposures of dark specimens, check the exposure
time with the pointer illumination turned off, then make the exposure manually after turning the pointer illumination back
on.
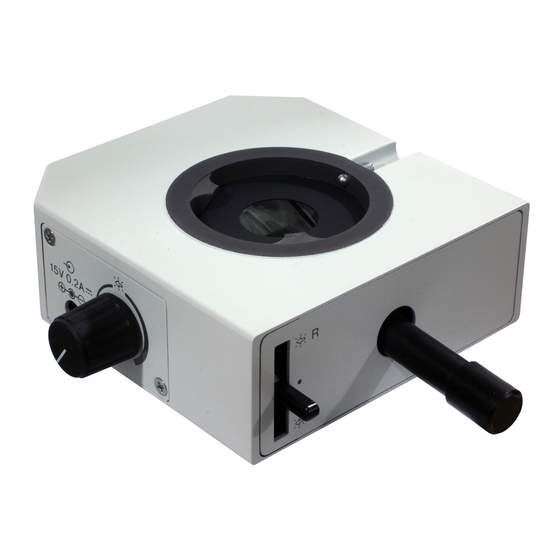
U-APT
8