- ページ 21
ラボラトリー機器 Olympus CKX41のPDF 修理マニュアルをオンラインで閲覧またはダウンロードできます。Olympus CKX41 43 ページ。 Reflected fluorescence system
Olympus CKX41 にも: 概要 (7 ページ), パンフレット&スペック (4 ページ), 取扱説明書 (36 ページ)
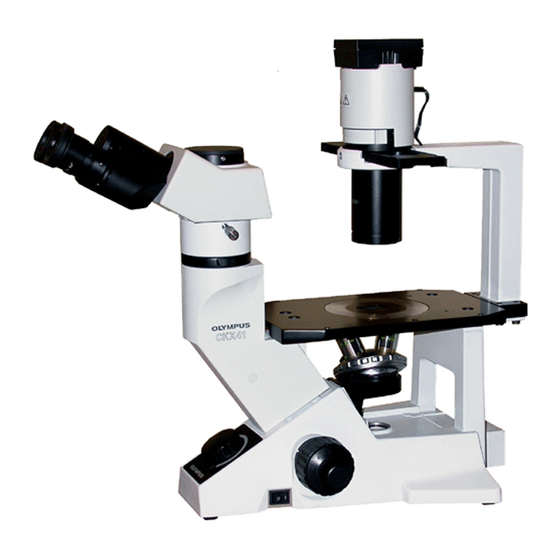
CKX31/CKX41
No.
Parts name
(A)
PLATE
(B)
PLATE
(C)
FINE ADJ. KNOB
FINE ADJ. KNOB
(D)
ASS'Y
COARSE ADJ. KNOB
(E)
(F)
SPRING WASHER
(G)
WASHER
(H)
FINE SHAFT
MOUNT
(I)
WASHER
(J)
COARSE FOCUS
ADJ. KNOB ASS'Y
(K)
COVER
(L)
COVER
(M)
FOCUSING GUIDE
(N)
KNOB
(O)
BOTTOM PLATE
(P)
PINION SECTION
C. DISASSEMBLY AND ASSEMBLY PROCEDURES
Screw
ABS3X8SA, 2pcs. (*1)
CWK3X6SA, 3pcs. (*2)
ACU3X4SA, 2pcs. (*3)
CWK2.6X6SA, 3pcs. (*4)
CSK2.6X6SA, 2pcs. (*5)
CUK2.6X5SA, 1pc. (*6)
CUKK3X6SA, 1pc. (*7)
AB4X14SA, 3pcs. (*8)
ACU3X10SA, 1pc. (*9)
CTK3X6SA, 4pcs. (*10)
CUKS3X8SA, 4pcs. (*11)
ACU3X6SA, 2pcs. (*12)
C-10
Grease Adhesive
Rotating tension:
Standard: 0.3N -1.2N(OT3225)
OT2008
OT1378
Apply grease to the circumference
of the shaft(a).
Rotating tension:
Standard: 6N -25N(OT3223)
OT2008
Apply grease to the outer surface.
OT2008
Apply grease to the outer surface.
Apply grease to the shaft hole.
OT2008
Apply grease to the outer surface.
OT2008
While holding the coarse adj.
OT2012
knob ass'y , screw the fine shaft
mount into it.
Check that the gears moves
smoothly.
Attach it with double coated
adhesive tape.
Fit the protrusions into the holes
of frame.
Push it in the arrow directions
when assembling it.
(Refer to C-9.)
Also remove the four screws(*10)
of cover.
(Refer to the figure on C-9.)
The screw on the right back is
with HWB3SA.
For screw positions, refer to C-13.
When removing the Pinion
OT2006
OT1026
section, it is necessary to remove
OT2012
OT3111
the foucusing guide unit(M)
and bottom plate(O).
Fixing screw: ACU3X6SA(*12)
Remark