- ページ 17
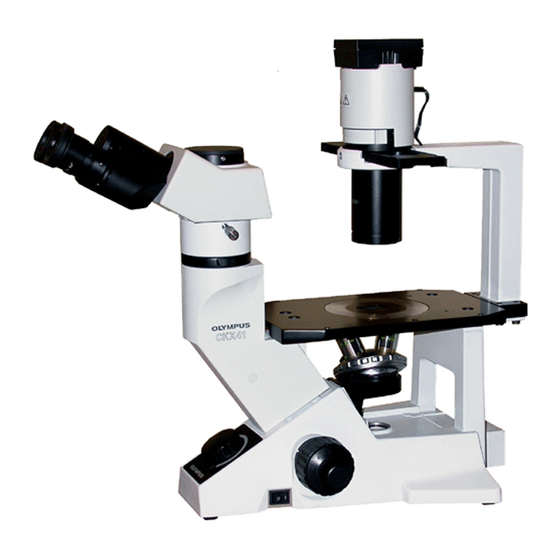
ラボラトリー機器 Olympus CKX41のPDF 取扱説明書をオンラインで閲覧またはダウンロードできます。Olympus CKX41 36 ページ。 Reflected fluorescence system
Olympus CKX41 にも: 概要 (7 ページ), パンフレット&スペック (4 ページ), 修理マニュアル (43 ページ)

- 1. Table of Contents
- 1. General Precautions for Observation
- 1. Using the Controls
- 2. Important
- 2. Applicable Fluorescence Objectives
- 3. Nomenclature
- 3. Centering the Mercury Burner
- 4. Troubleshooting Guide
- 4. Specifications
- 4. Assembly
- 4. Assembly
- 4. U-Excitation Filter Set Ckx-Nu (Optional)
- 4. Controls of each Module
- 4. Switching the Filter Slider
- 5. Proper Selection of the Power Supply Cord
- 5. Summary of Reflected Fluorescence Observation Procedure
2
3
1
Fig. 2
Fig. 3
5
Centering the Mercury Burner
}Before proceeding to center the burner, wait for the arc
1. Remove the cap (or objective) from a revolving nosepiece
2. Push in the fluorescent mirror switching knob 1 to engage
3. Turn the field iris diaphragm lever 2 clockwise to open the
4. Place a piece of white paper, such as copy paper, on the
}The arc image can be confirmed more easily by using the
# If the arc image is too bright, insert the ND filter 4 into
# If the arc image focusing position cannot be identified
4
5
REFLECTED FLUORESCENCE SYSTEM
image to stabilize. To protect against glare during arc image
centering, it should be viewed across the excitation light
protective shield.
position and engage this position in the light path.
the B-excitation mirror in the center position in the light path.
iris diaphragm.
top of the stage, set the filter slider 3 to the center position
and project the arc image.
U-CST centering target screen.
the filter pocket 5 and engage it in the light path. When
the 32ND25 is used, the transmittance is 25%.
easily, close the field iris diaphragm.
FOR CKX41
(Figs. 2 to 6)
14
