- ページ 16
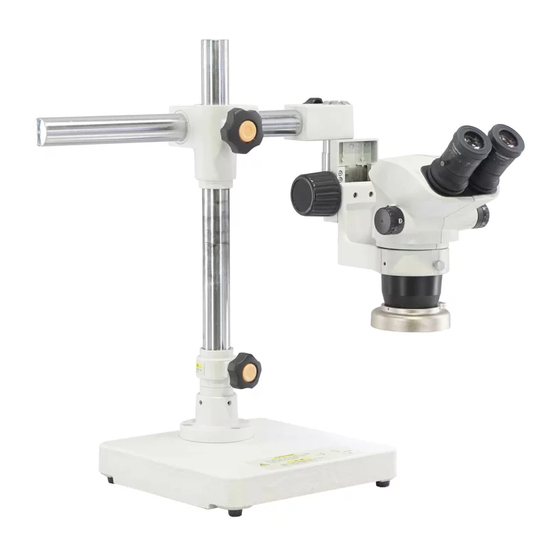
ラボラトリー機器 Olympus SZ2-STU2のPDF 取扱説明書をオンラインで閲覧またはダウンロードできます。Olympus SZ2-STU2 20 ページ。 Universal stand, table clamp stand

- 1. Table of Contents
- 2. IMPORTANT - be Sure to Read this Section for Safe Use of the Equipment
- 3. Modules, External View and Dimensions
- 4. Nomenclature and Assembly
- 5. Operation
- 6. IMPORTANT - be Sure to Read this Section for Safe Use of the Equipment
- 7. Sz2-Stu2
- 8. Modules, External View and Dimensions
- 9. Nomenclature and Assembly
- 10. Operation
²
13
@
³
Fig. 22
|
@
²
ƒ
Fig. 23
7. To rotate the mount shaft ² around the horizontal shaft, loosen the
horizontal shaft rotation clamping lever @.
When the clamping lever @ is loosened and the distal end is withdrawn
by 2 to 3 mm, the rotation stoppers ³ are disengaged. After rotating the
mount shaft to the desired position, tighten the lever firmly to clamp the
mount shaft again. (Fig. 22)
Do not withdraw the distal end too much. It would be dangerous if
the distal end is completely disengaged.
Loosen the lever only by half. If the lever is loosened completely, the
microscope body may turn suddenly and cause danger.
}There are two rotation stoppers, above and below the mount shaft.
8. When mounting a photography unit, use the following procedure. Take
care so that the mount shaft is not tilted beyond the vertical positioning.
If the tilting clamping lever | gets loose while the photography unit
or TV camera is mounted, it may topple down toward the observer.
To prevent this danger, be sure to perform the following setup.
a. Loosen the horizontal shaft rotation clamping lever @, withdraw the
distal end of the arm by 2 to 3 mm, and rotate the distal end by 180° so
that the mount shaft ² faces upward.
Then, while applying the distal end of the arm to the rotation stoppers,
tighten the clamping lever @. (Figs. 22 & 23)
b. Loosen the tilting clamping lever | and set the mount shaft ² so that
it faces downward. (Fig. 23)
c. Remove the microscope body drop prevention screw ƒ and mount
the SZX stand arm SZ2-STS or SZX microscope body. (Fig. 23)
d. After mounting the microscope body, be sure to attach the micro-
scope body drop prevention screw ƒ. (Fig. 23)
